More stuff done

Headlight bucket

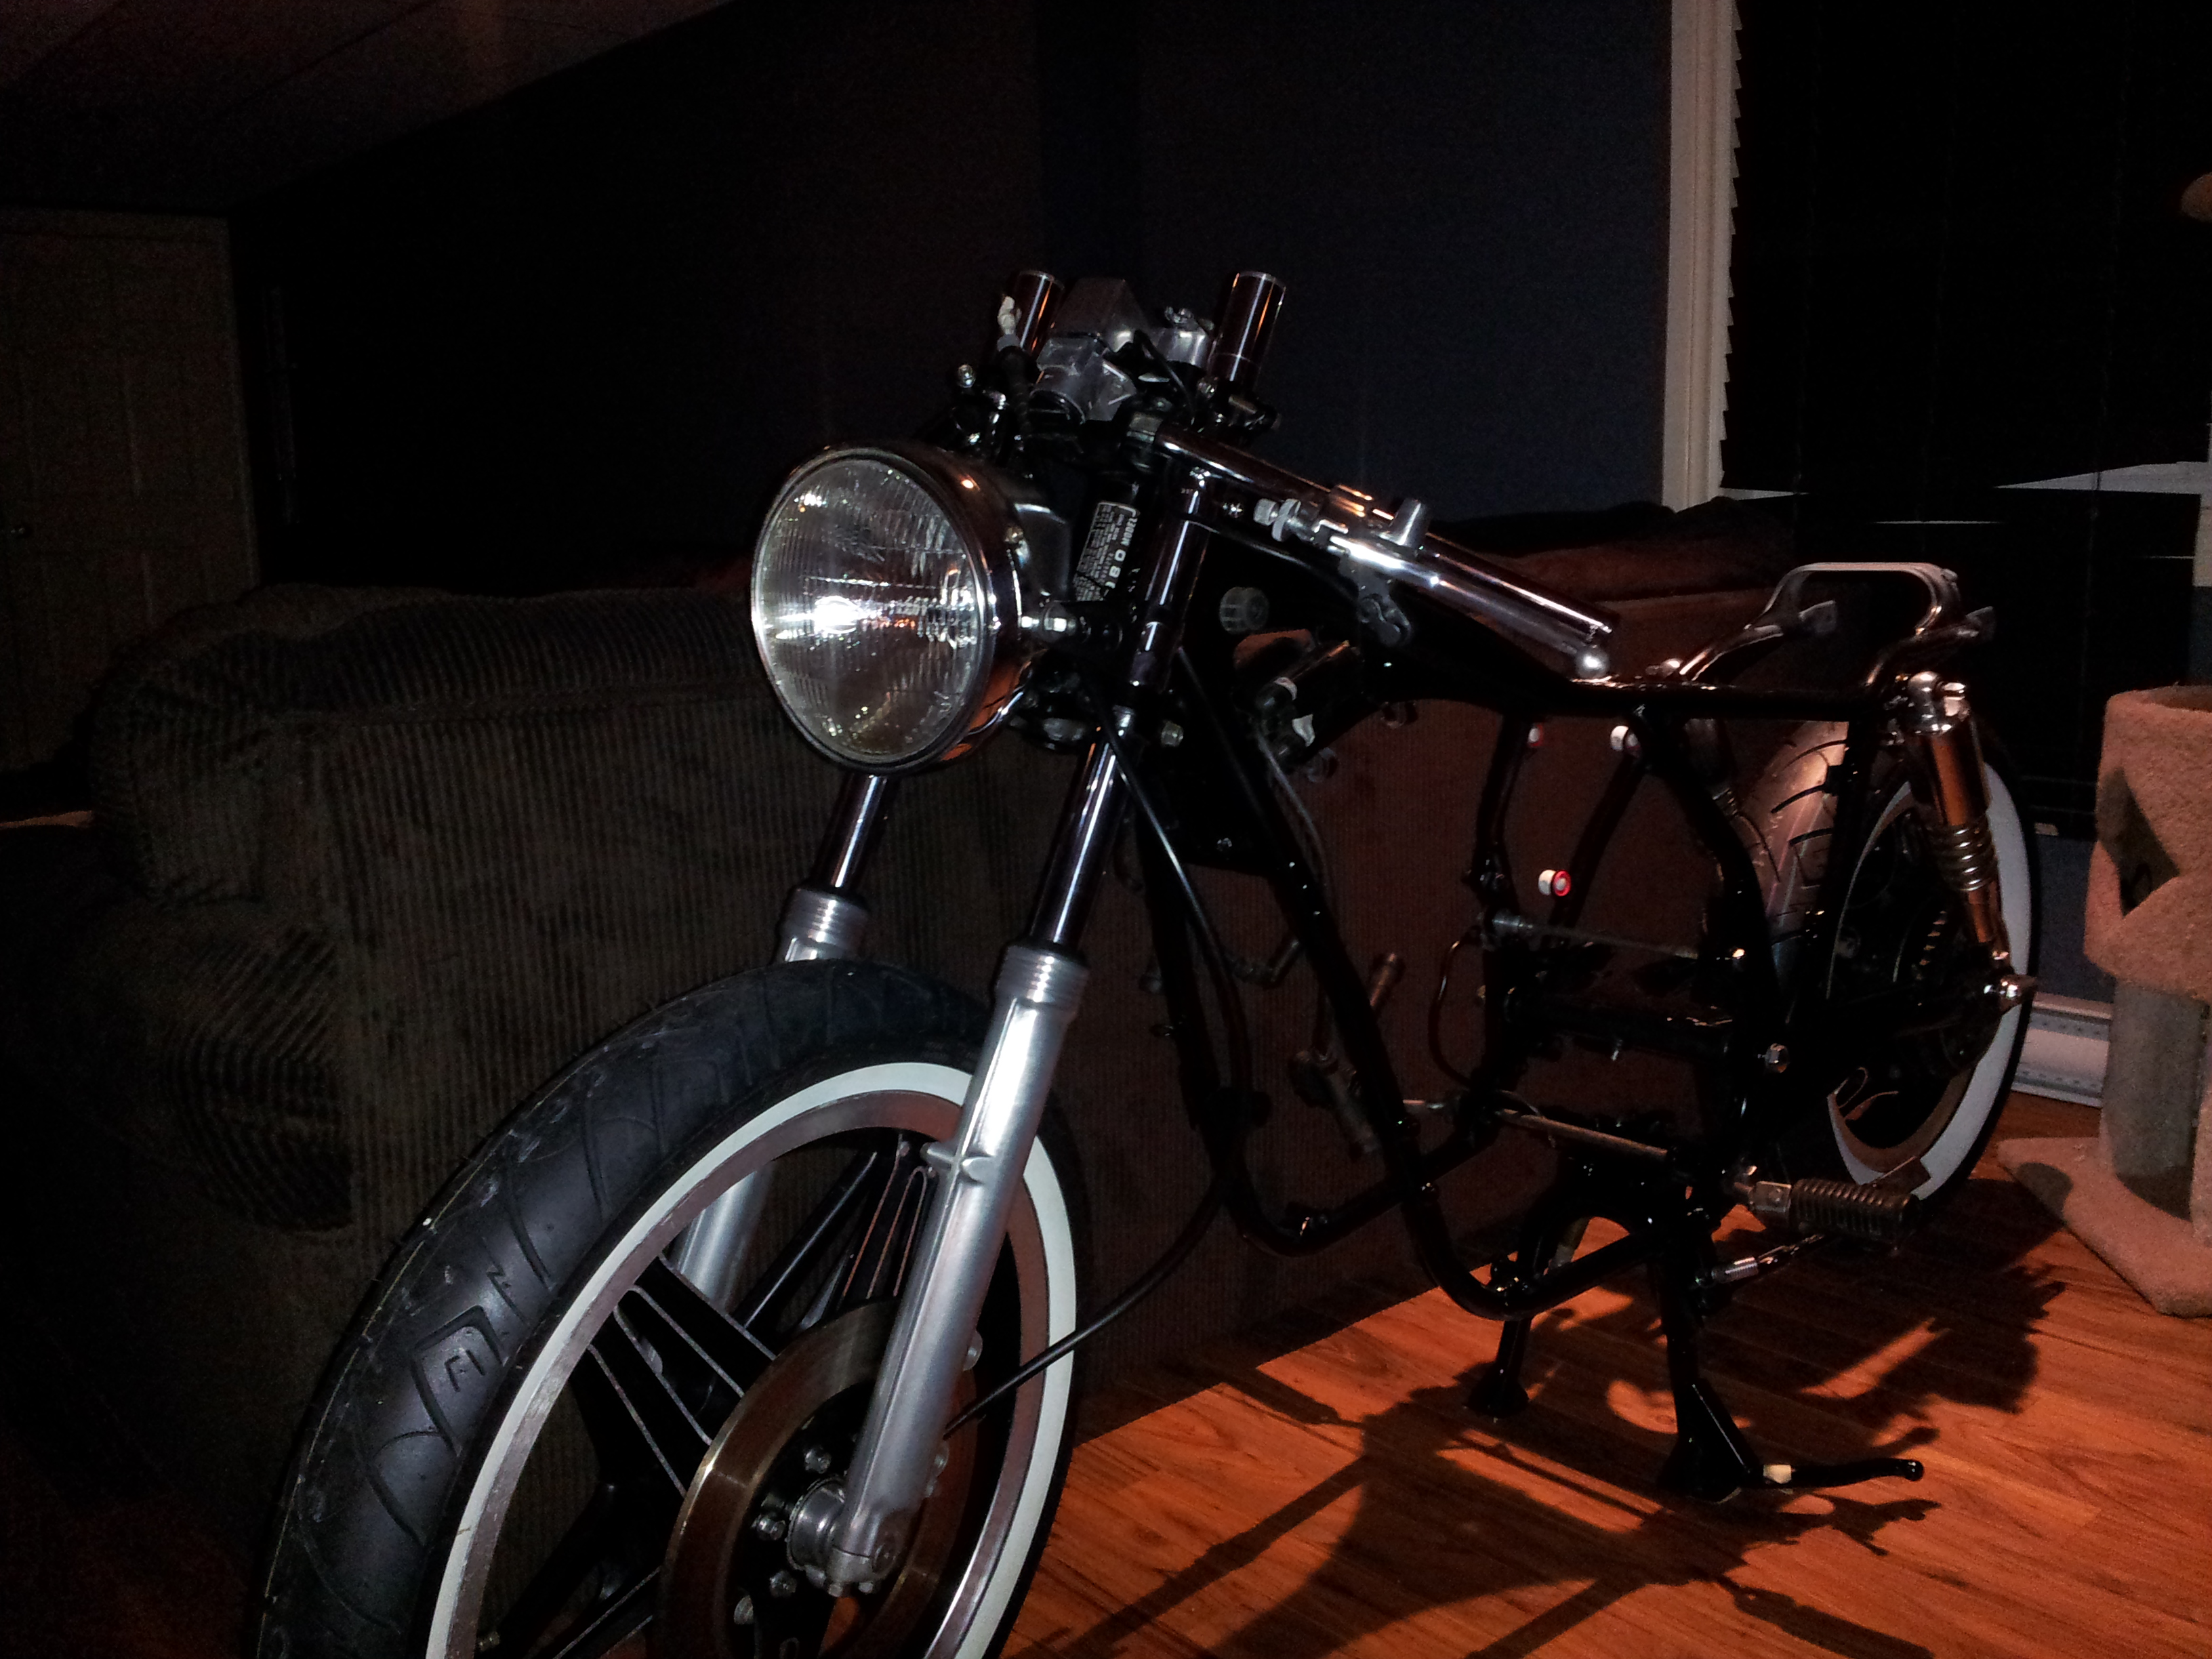
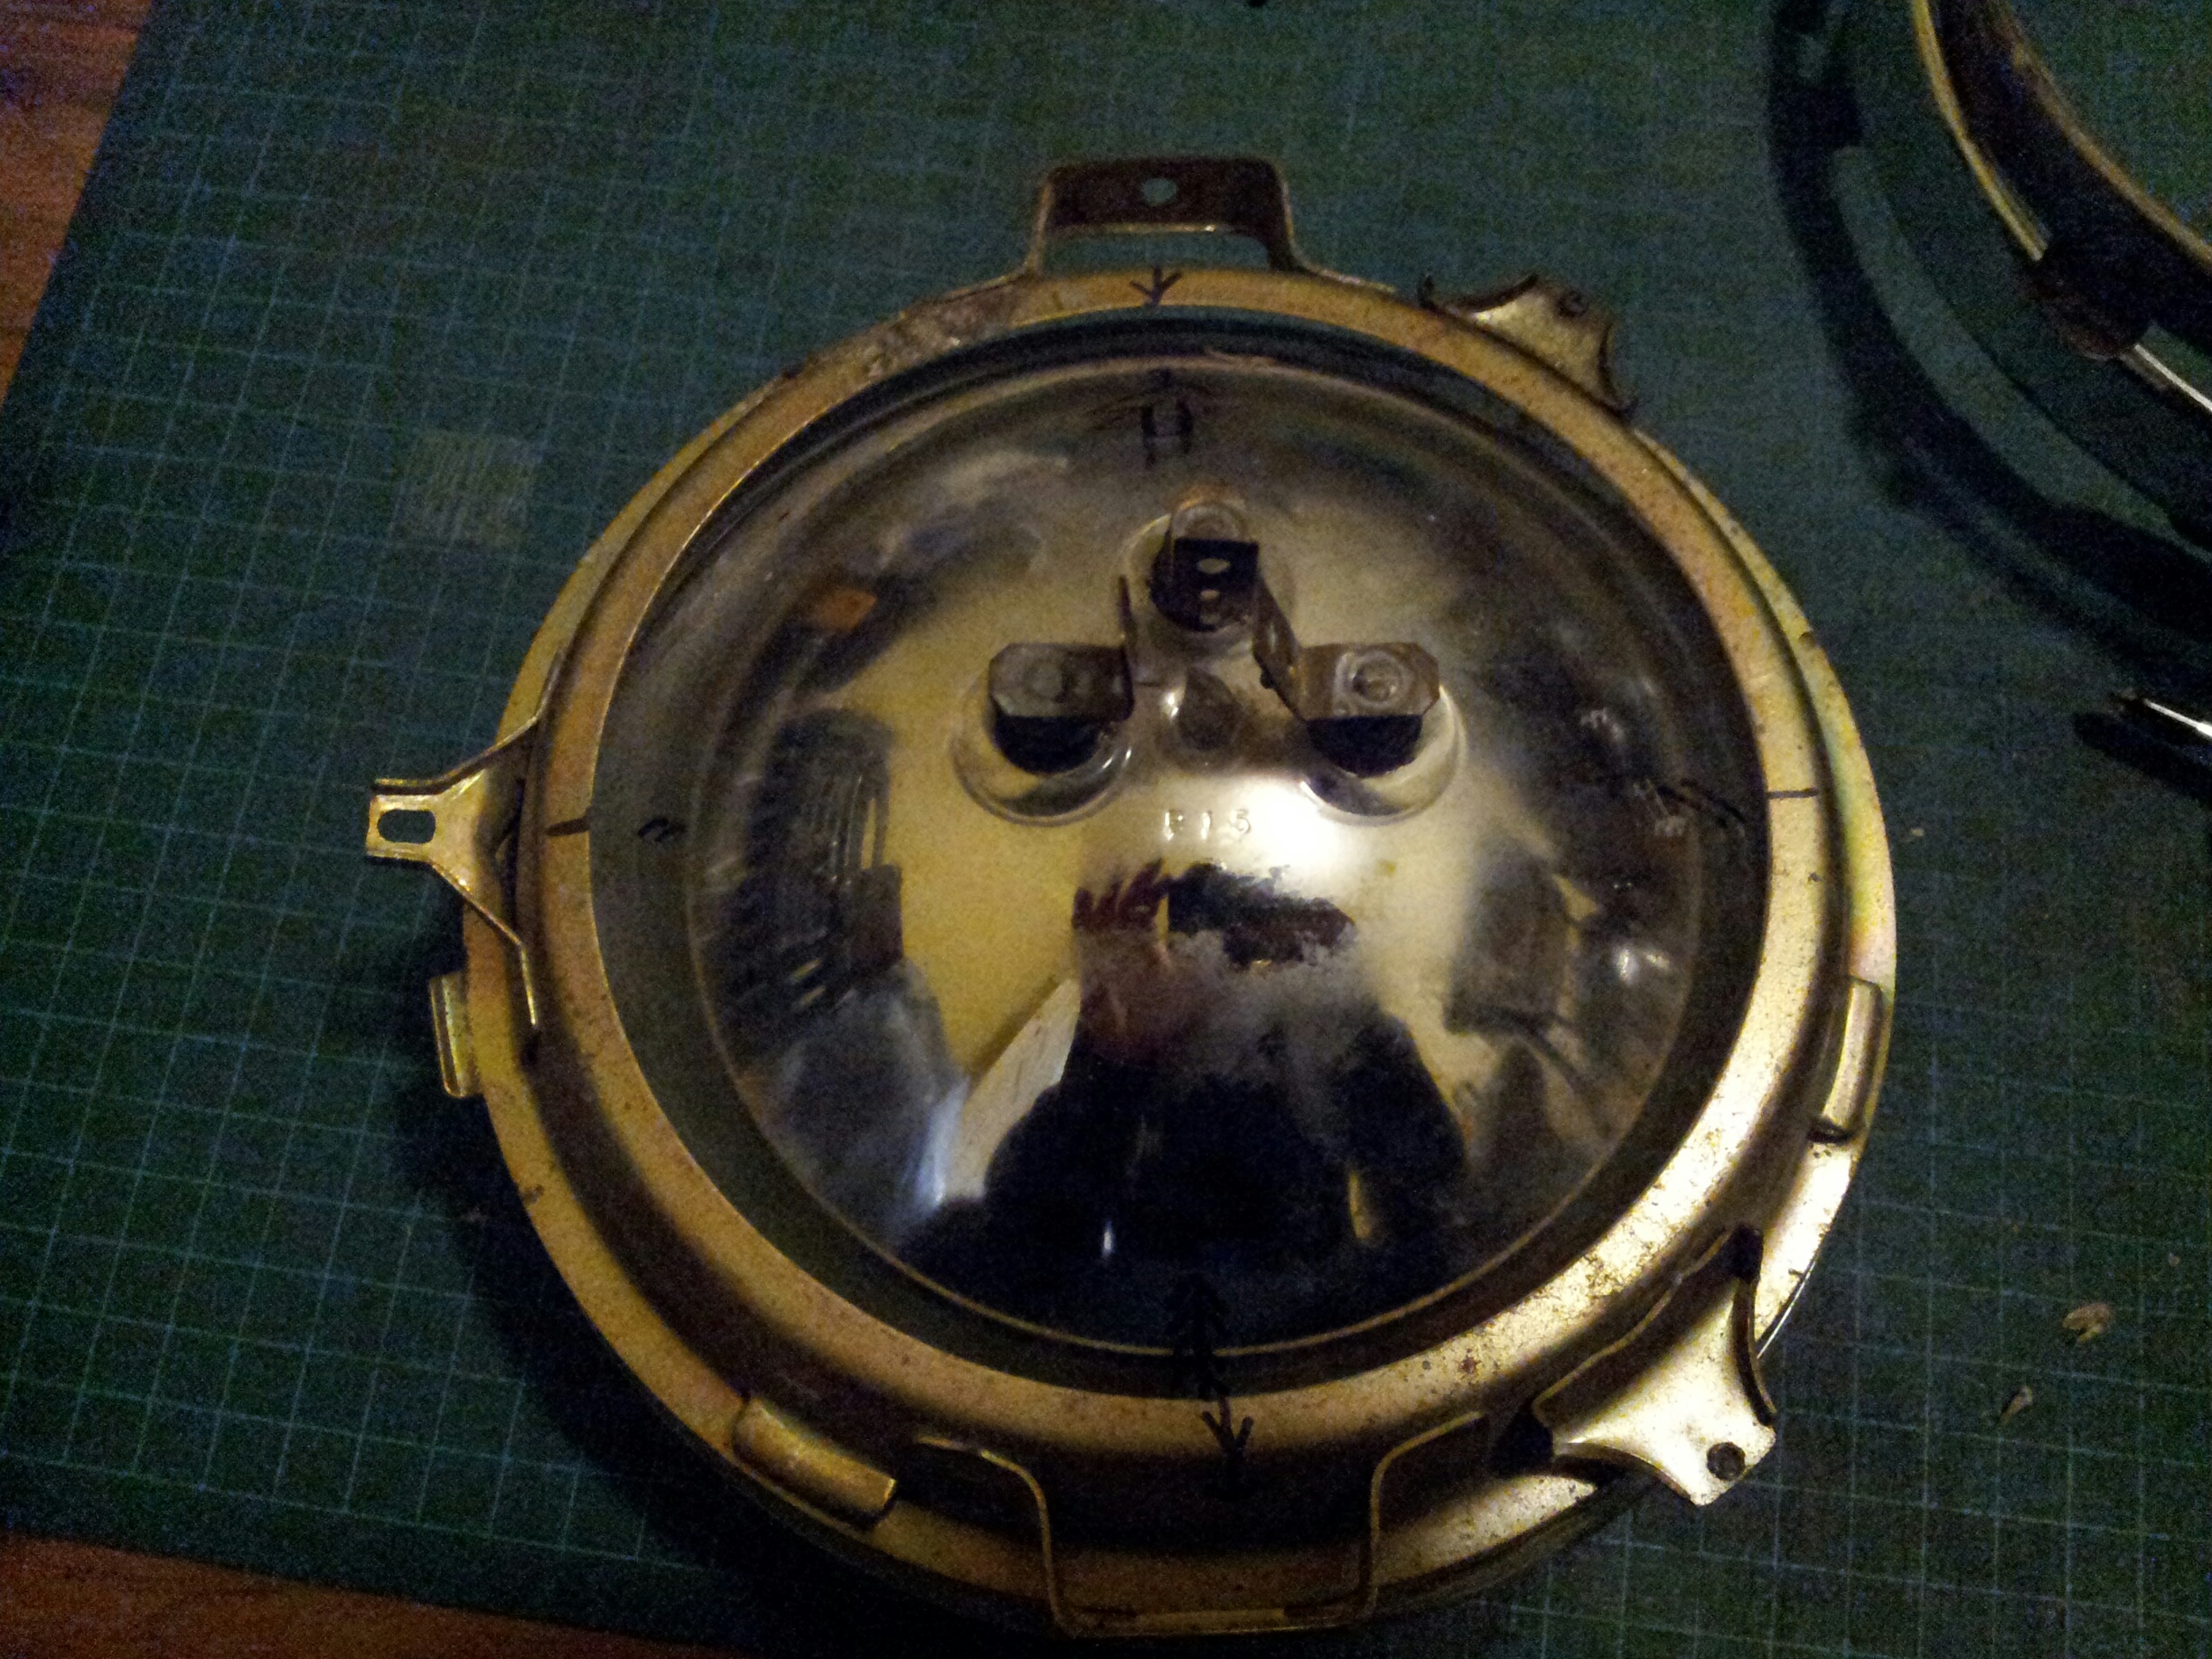
Last night I attacked the headlight bracket. Since I’m using the inverted stock one (it lets me bring the headlight down a lot more) I have to flip the headlights. The bracket needed some dremel action (not shown) to be able to insert the headlight.

I still have the sealed beam unit, but will eventually upgrade to a H4..probably whenever it burns out – I’m not planning on driving at night too much anyway with this bike.

CB650 headlight bracket / bucket

Master cylinder

I received my master cylinder to replaced the very rough looking stock one. Of course I couldn’t let this one sit, I polished the handle and reservoir cover. I still need to buy a new brake line – I don’t want to use the one with 1979 stamped on it!

master


Street fighter anyone?


CB650 street fighter

Custom bracket for the gauges

This step in the build involve creating a custom brackets to re-align the speedo and tach closer together and parallel to the forks.

image

image

I did a cardboard mockup and took some measurement to cut the final plate in 3mm aluminium.

No fancy tools here! A jigsaw and some files will do the trick.

image

image

image

image

Good enough for the purpose. Still needs more work but a very good start.

Front end is taking shape

Cafe Racer in the building process

Lot’s of progress last night, replaced the bad steering head bearing (and properly installed the spacer this time). Ended up putting the clip-ons and headlight – I couldn’t wait any longer to see how everything looks together! The headlight brackets will need a little bit of modification but it’s going to work for now. The headlight is upside down on some of the pics but I think this might be the way to go look wise (the housing only).

Hopefully everything is smooth sailing from now on – the crappy cleaning and polishing work is now behind.

Clipons and controls

20150212_011102

Gauges

I feel like I’m at that point where for every hour that I put into the bike, there is results to show. Today my needles are done and could finalizes the gauges. Pretty happy with the end results !

image

image

Next step is installing the triple trees…still waiting a call from the parts guys for the stem bearing…after that the whole forks / wheel / front end can be installed and finalized…which i can’t wait to do!

The seat is in and gauges progress

Today I received my Legendary Motorcycle Phat seat from Dimecity Cycle. They shipped very fast but took quite a toll on shipping / poor dollar exchange / duties. Almost doubling the total ouch!

image

image

The size of it will make it easy to work around the frame to have the perfect position with little frame modification. The tailight will be a strip of led following the cowl that I’ll fabricate…if I find it look good enough that is.

image

Following with my black/polished/white theme, white barrel grips.

image

I’ve started re-assembling the gauges. I designed the custom backfaces and got them printed at work on some brushed aluminium vinyl – I’m pretty satisfied with the outcome. The gauge needles are replaced by clock hands (I had to buy a few dozen haha, anybody needs clock hands?) –

image

image

image

The gauges will likely be lowered to the new headlight height to keep the overall height lower (gauges are the highest point of the bike), that will look better.

It looks like a bike now

image
1980 Honda CB650 resto-mod #cb650 #honda #caferacer

Well today/last night I assembled the stands and swingarm and finally starting to install parts on the frame.

image

I must say I’m pretty excited just looking at it, that rear Shinko 777’s thread pattern and white walls really work for that classic/retro look ! This tire is usually on cruisers but the thread is very sporty looking.

image
Shinko SR777

image

Some sprayed parts.

More progress

It’s been a few weeks but I finished re-assembling the carbs as units and painted a few parts. I fucked up my new front lower head bearing install by forgetting to add a spacer (a spacer that WASN’T there in the first place). The lower triple tree was rubbing the neck when tightned. I’m getting All Balls bearing as they are good and descent price…around 50$.

image

A dremel and diamond wheel with some chisels are the weapons of choice for the bearing collars.

image

I had to dremel some grooves inside the neck for my drift to be able to grab the collar.

image

image

image