
Project is officially a success!
As of this writing I’ve put 100 km on the bike and it runs very very well. The carburation (stock) is good and the engine isn’t burning any visible smoke. I’m very pleased with the results! The project will keep on going…
#caferacer #custommotorcycle #cb650 #itsfinallydone #cb650 custom 1980


I’ve put my signature on both the left panel and tachometer.

The stock rotted-inside exhaust actually sound great at a medium loudness.


This engine is oem steampunked. I love the smooth roundess everywhere.
She’s all done!
Well at last I can say she’s done (mechanically). I only need a few more cosmetic touch like the tail section wrap, license plate holder & trim line around the fuel tank. I’m pretty happy with the result!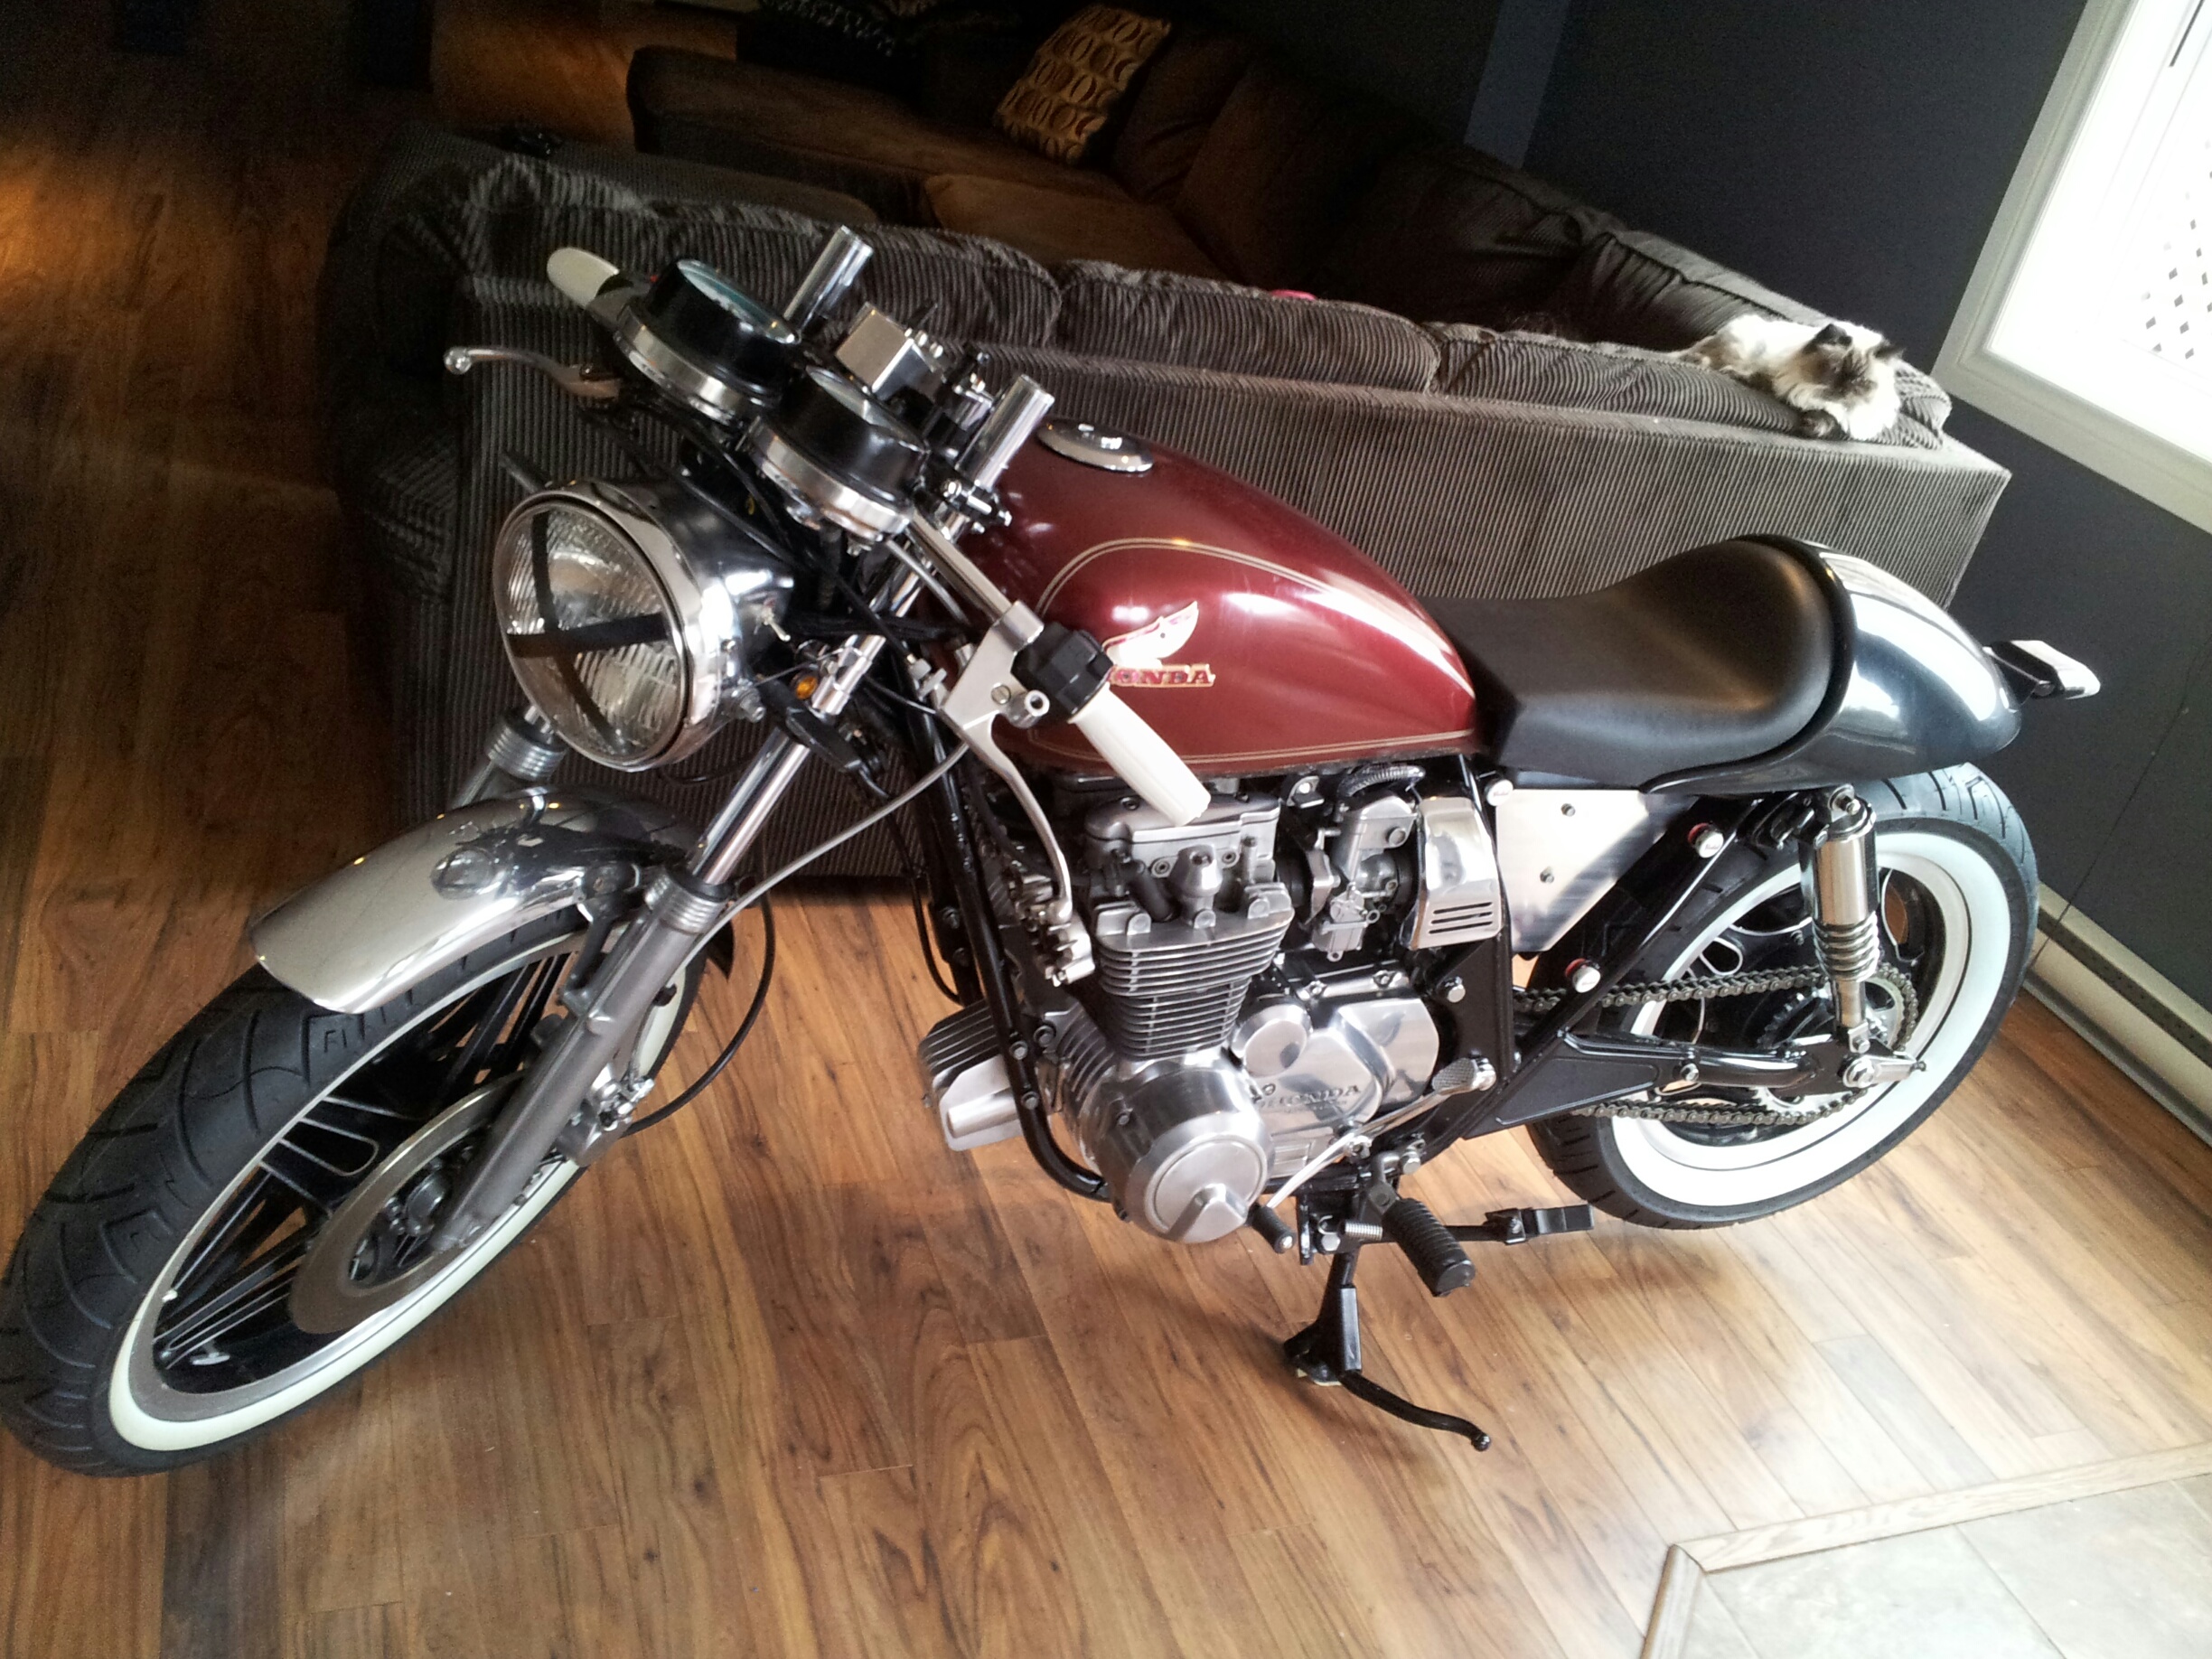
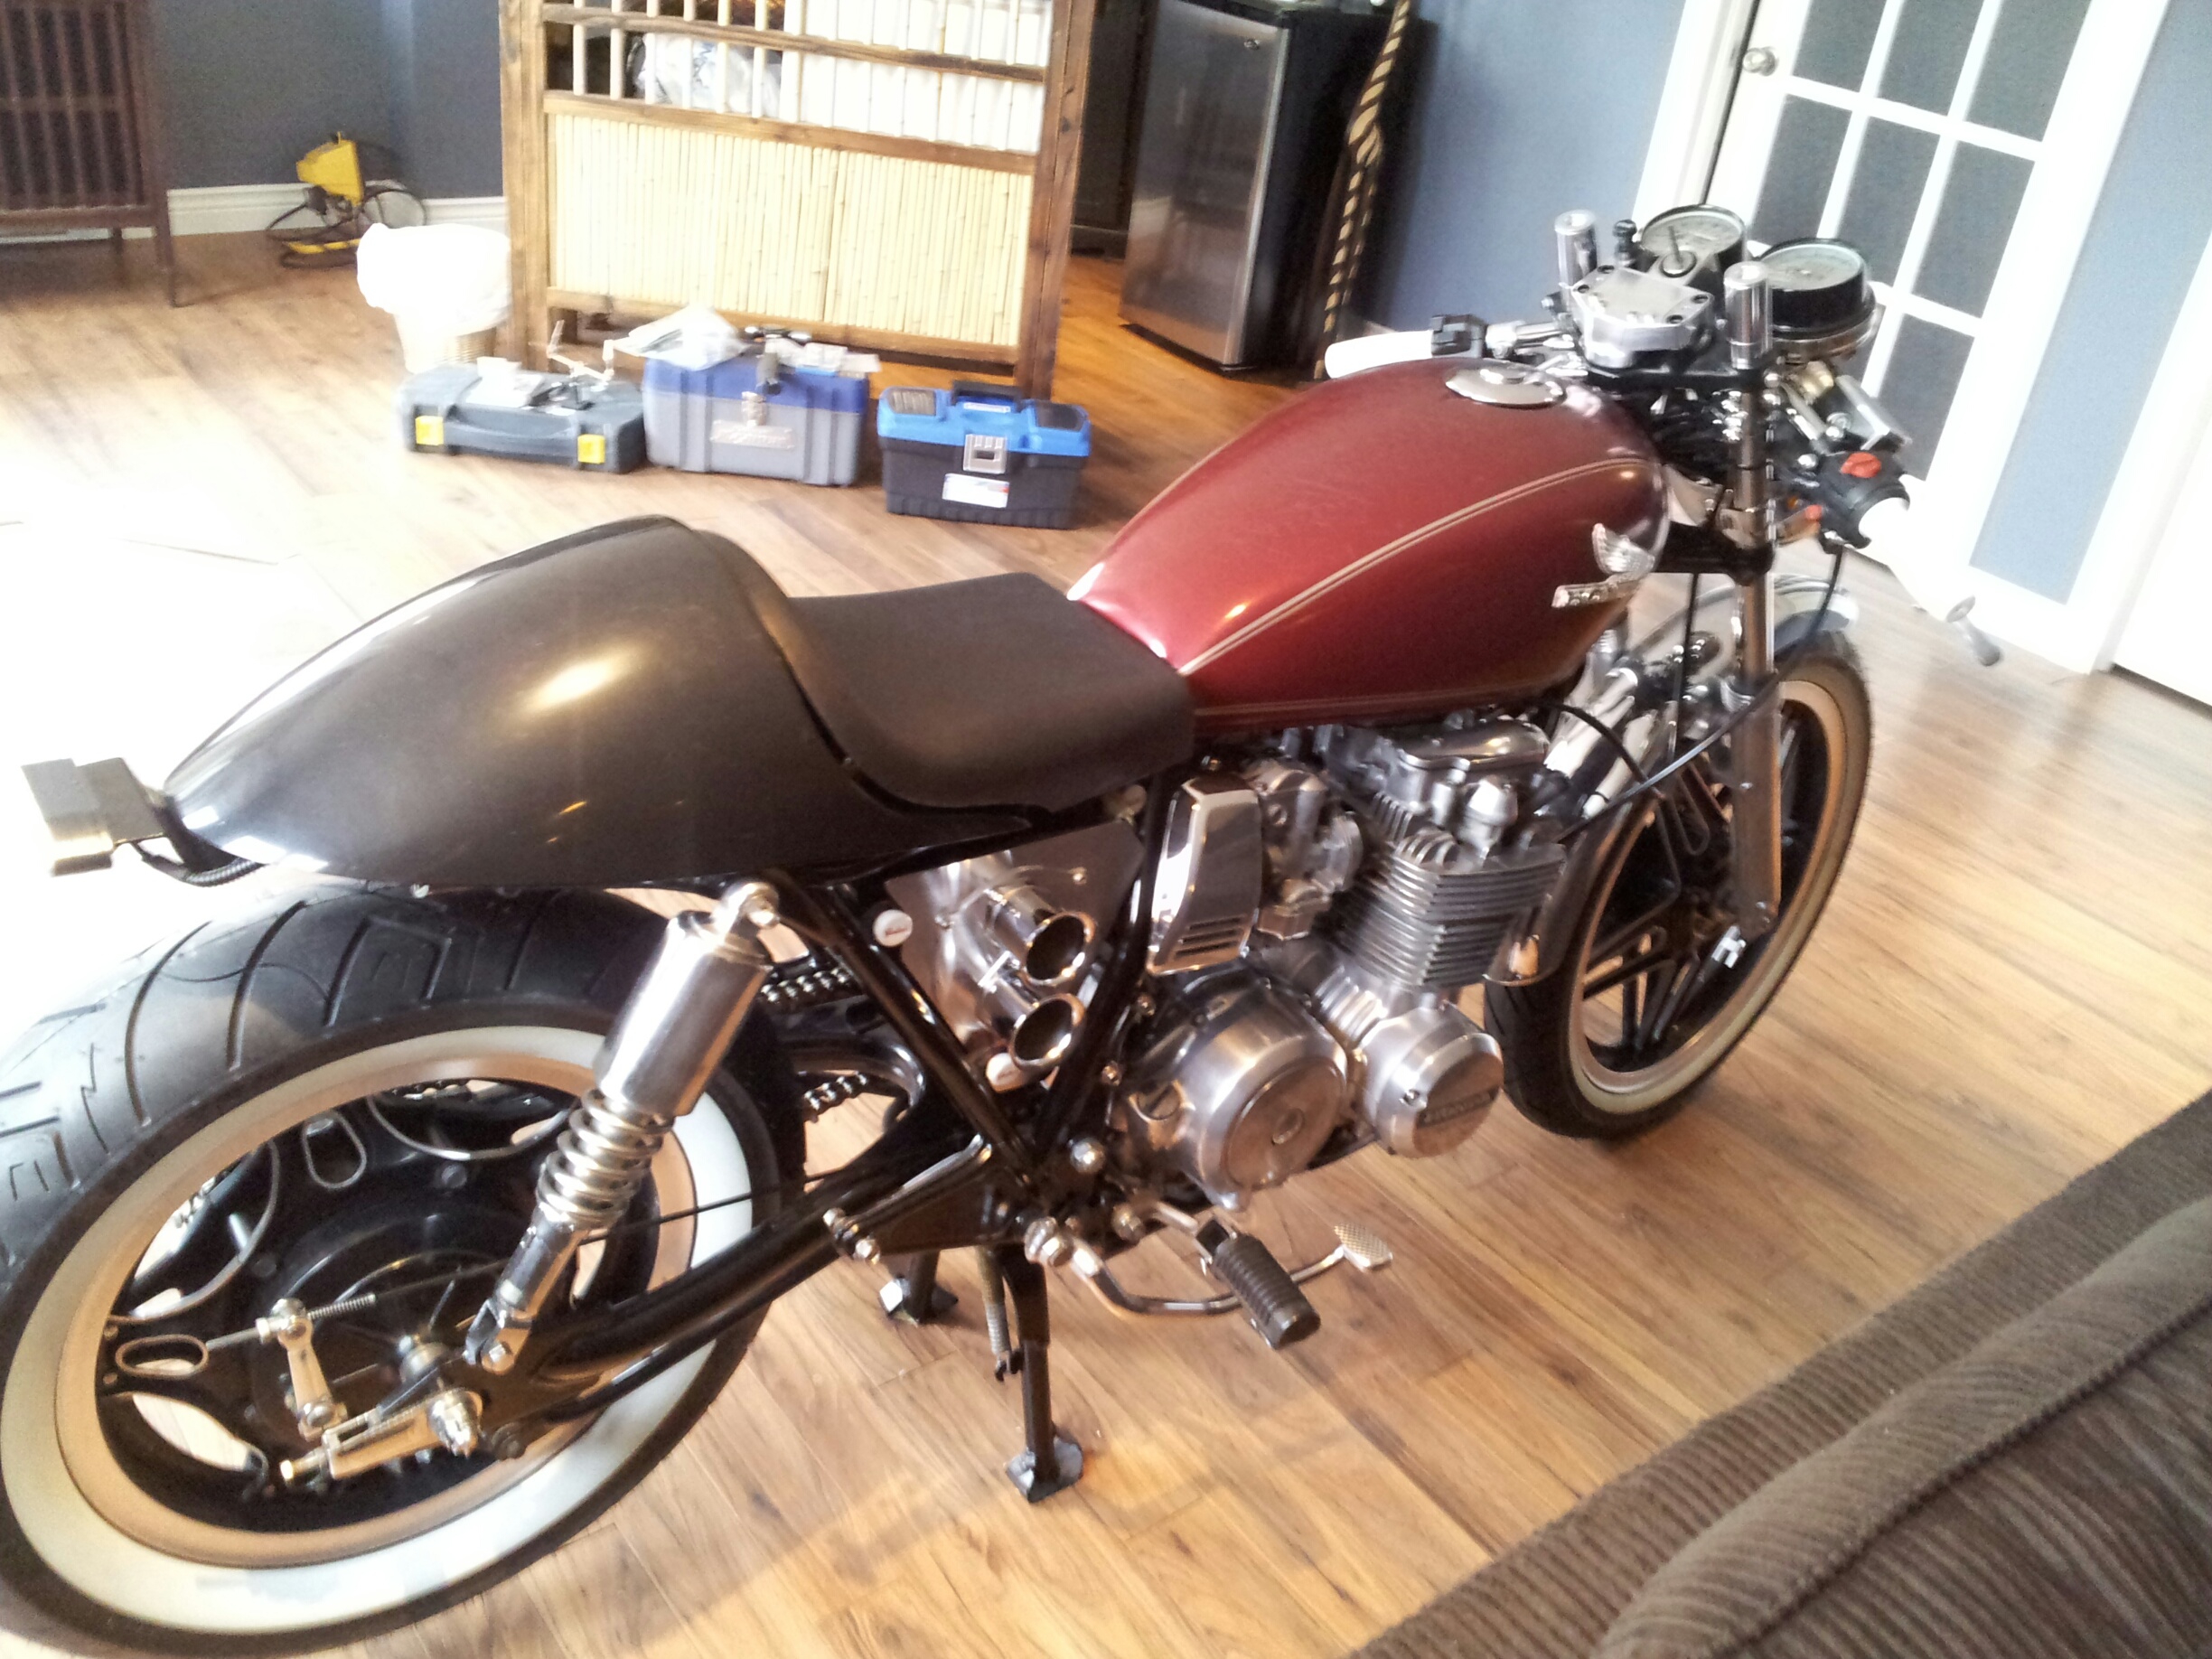
The last step was the carburettors! I will update again with a video and more picture of the completed project. #caferacer #cb650 #cb650custom #itsfinallydone
She’s almost done!
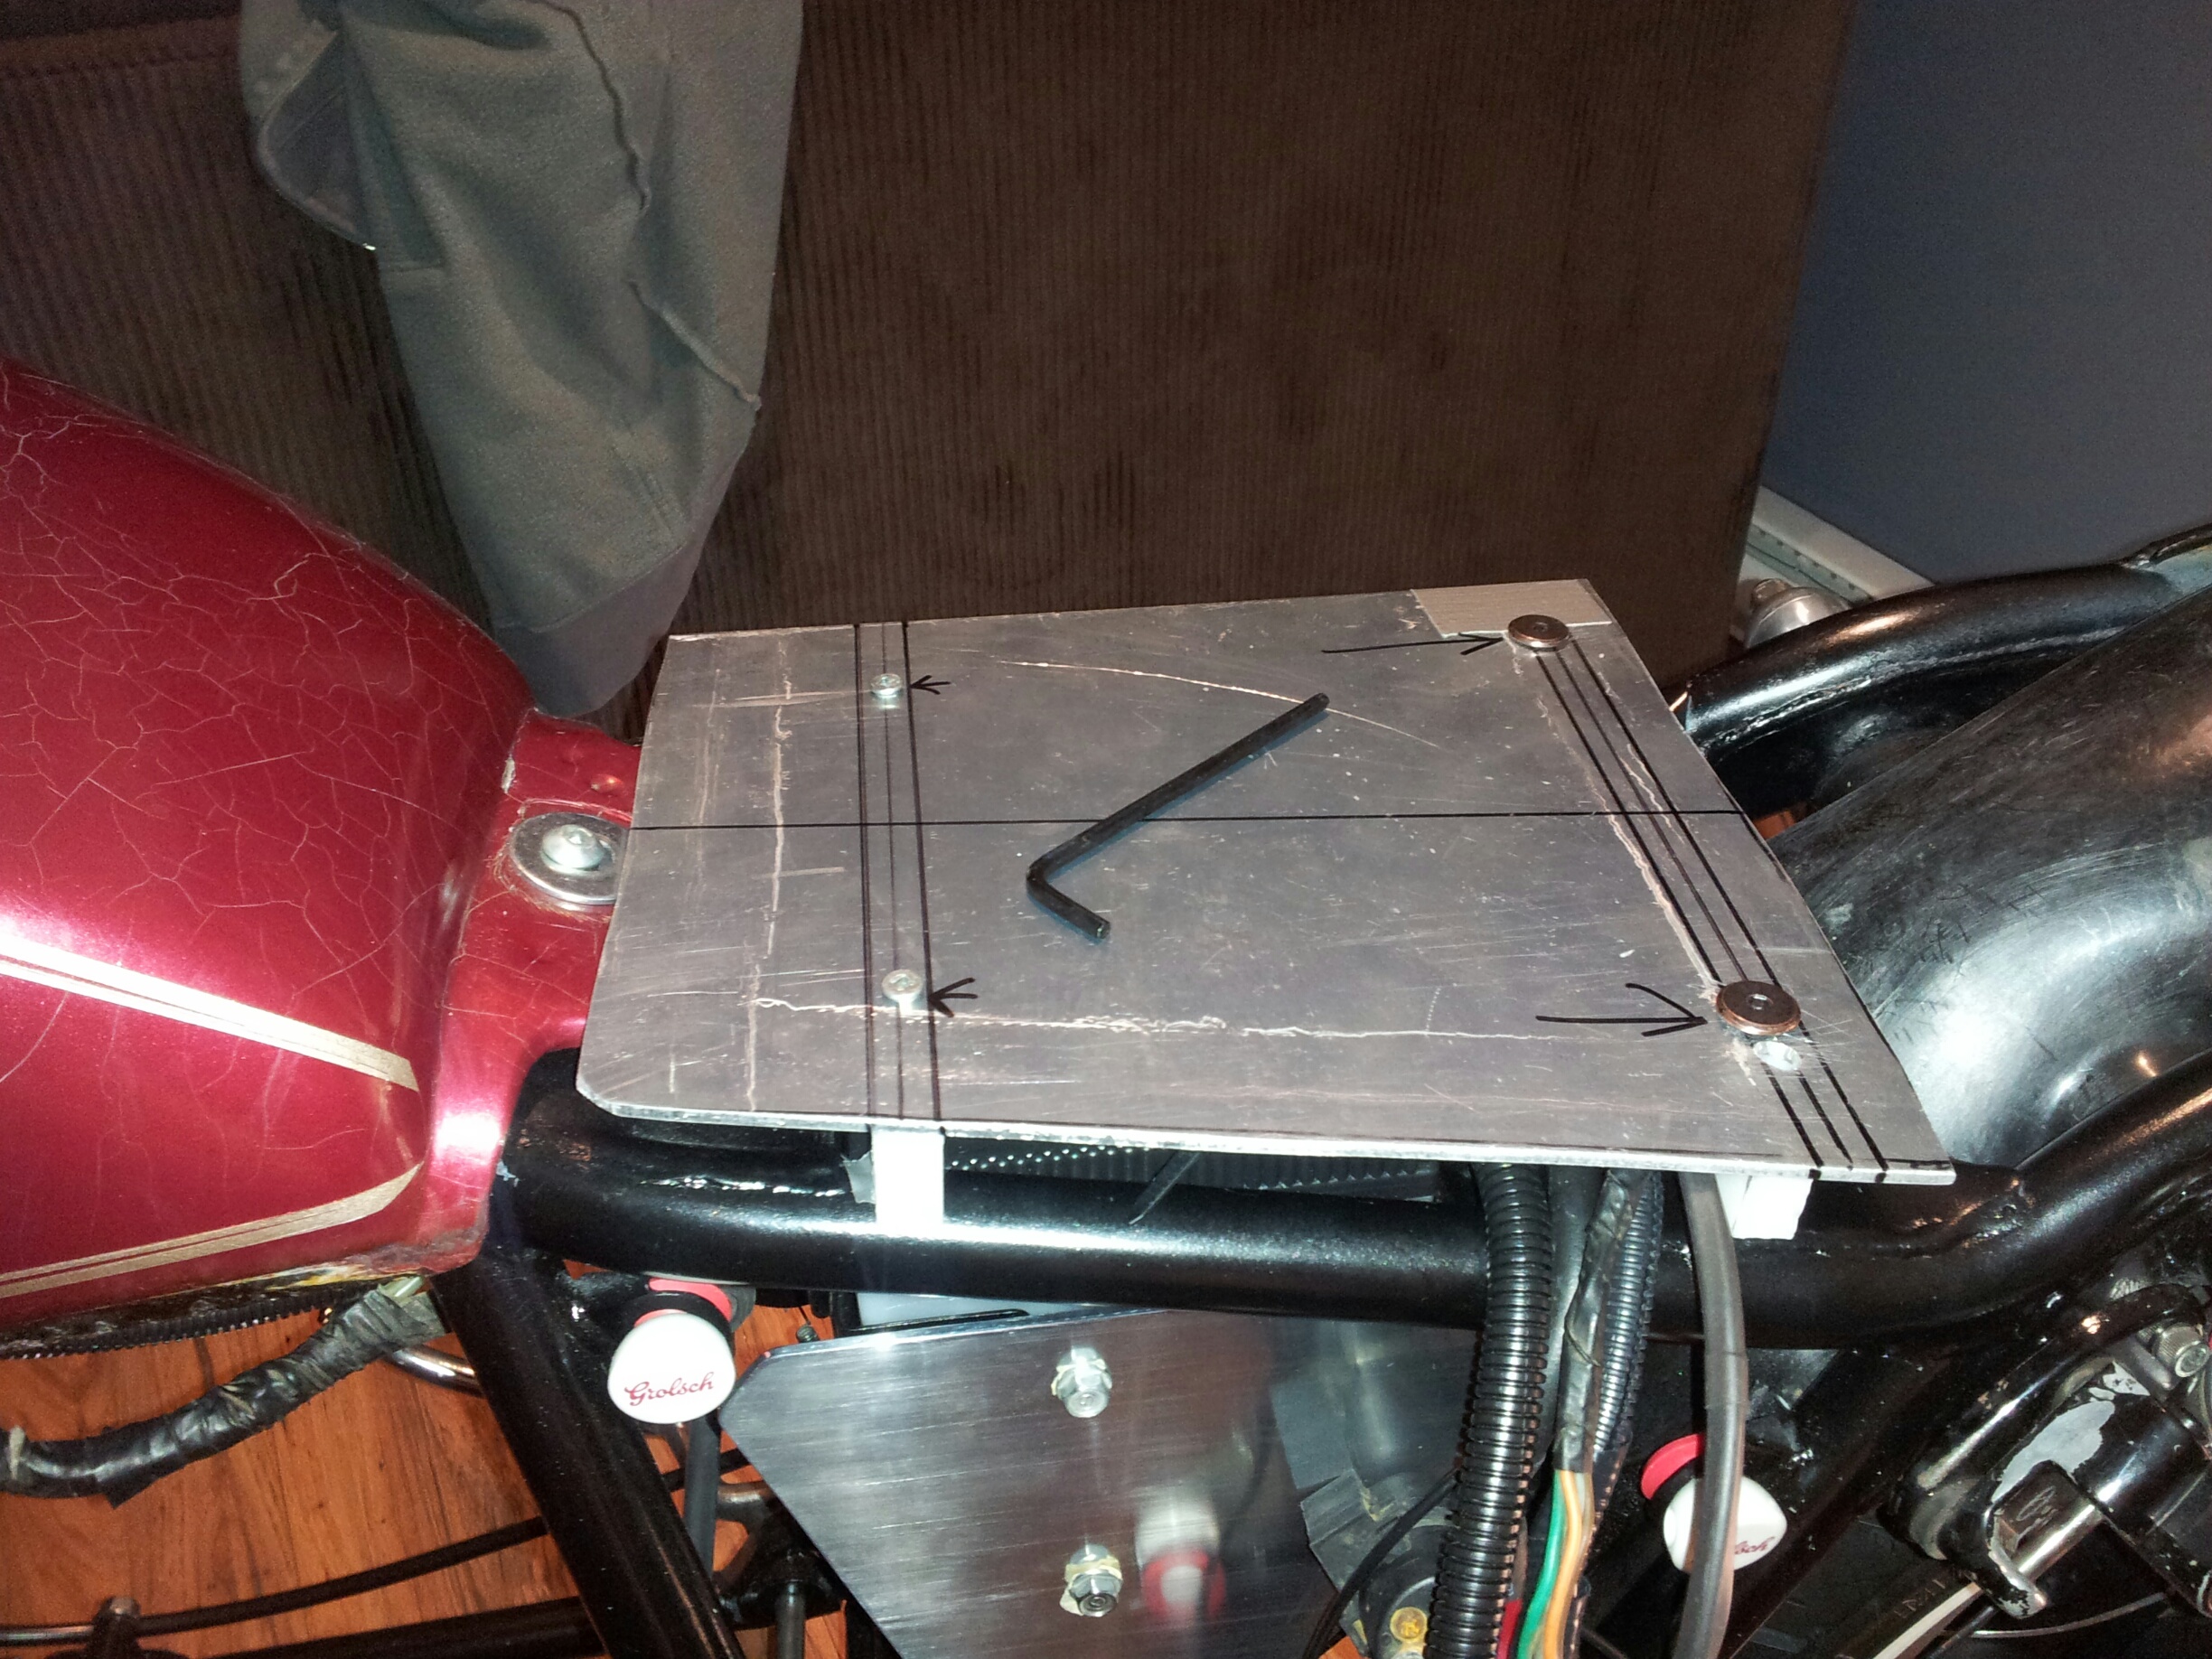
Lot’s have been done in the last few weeks, I finally figured out how to mount my seat. I took some aluminium plating (3m) and a nylon sheet to secure the plastic seat to the frame, the front uses the stock tabs (slides under) and 2 long screws in the back screws into the frame (taped holes).
I got my custom brake line for the front brake finally and receive my rear lights.
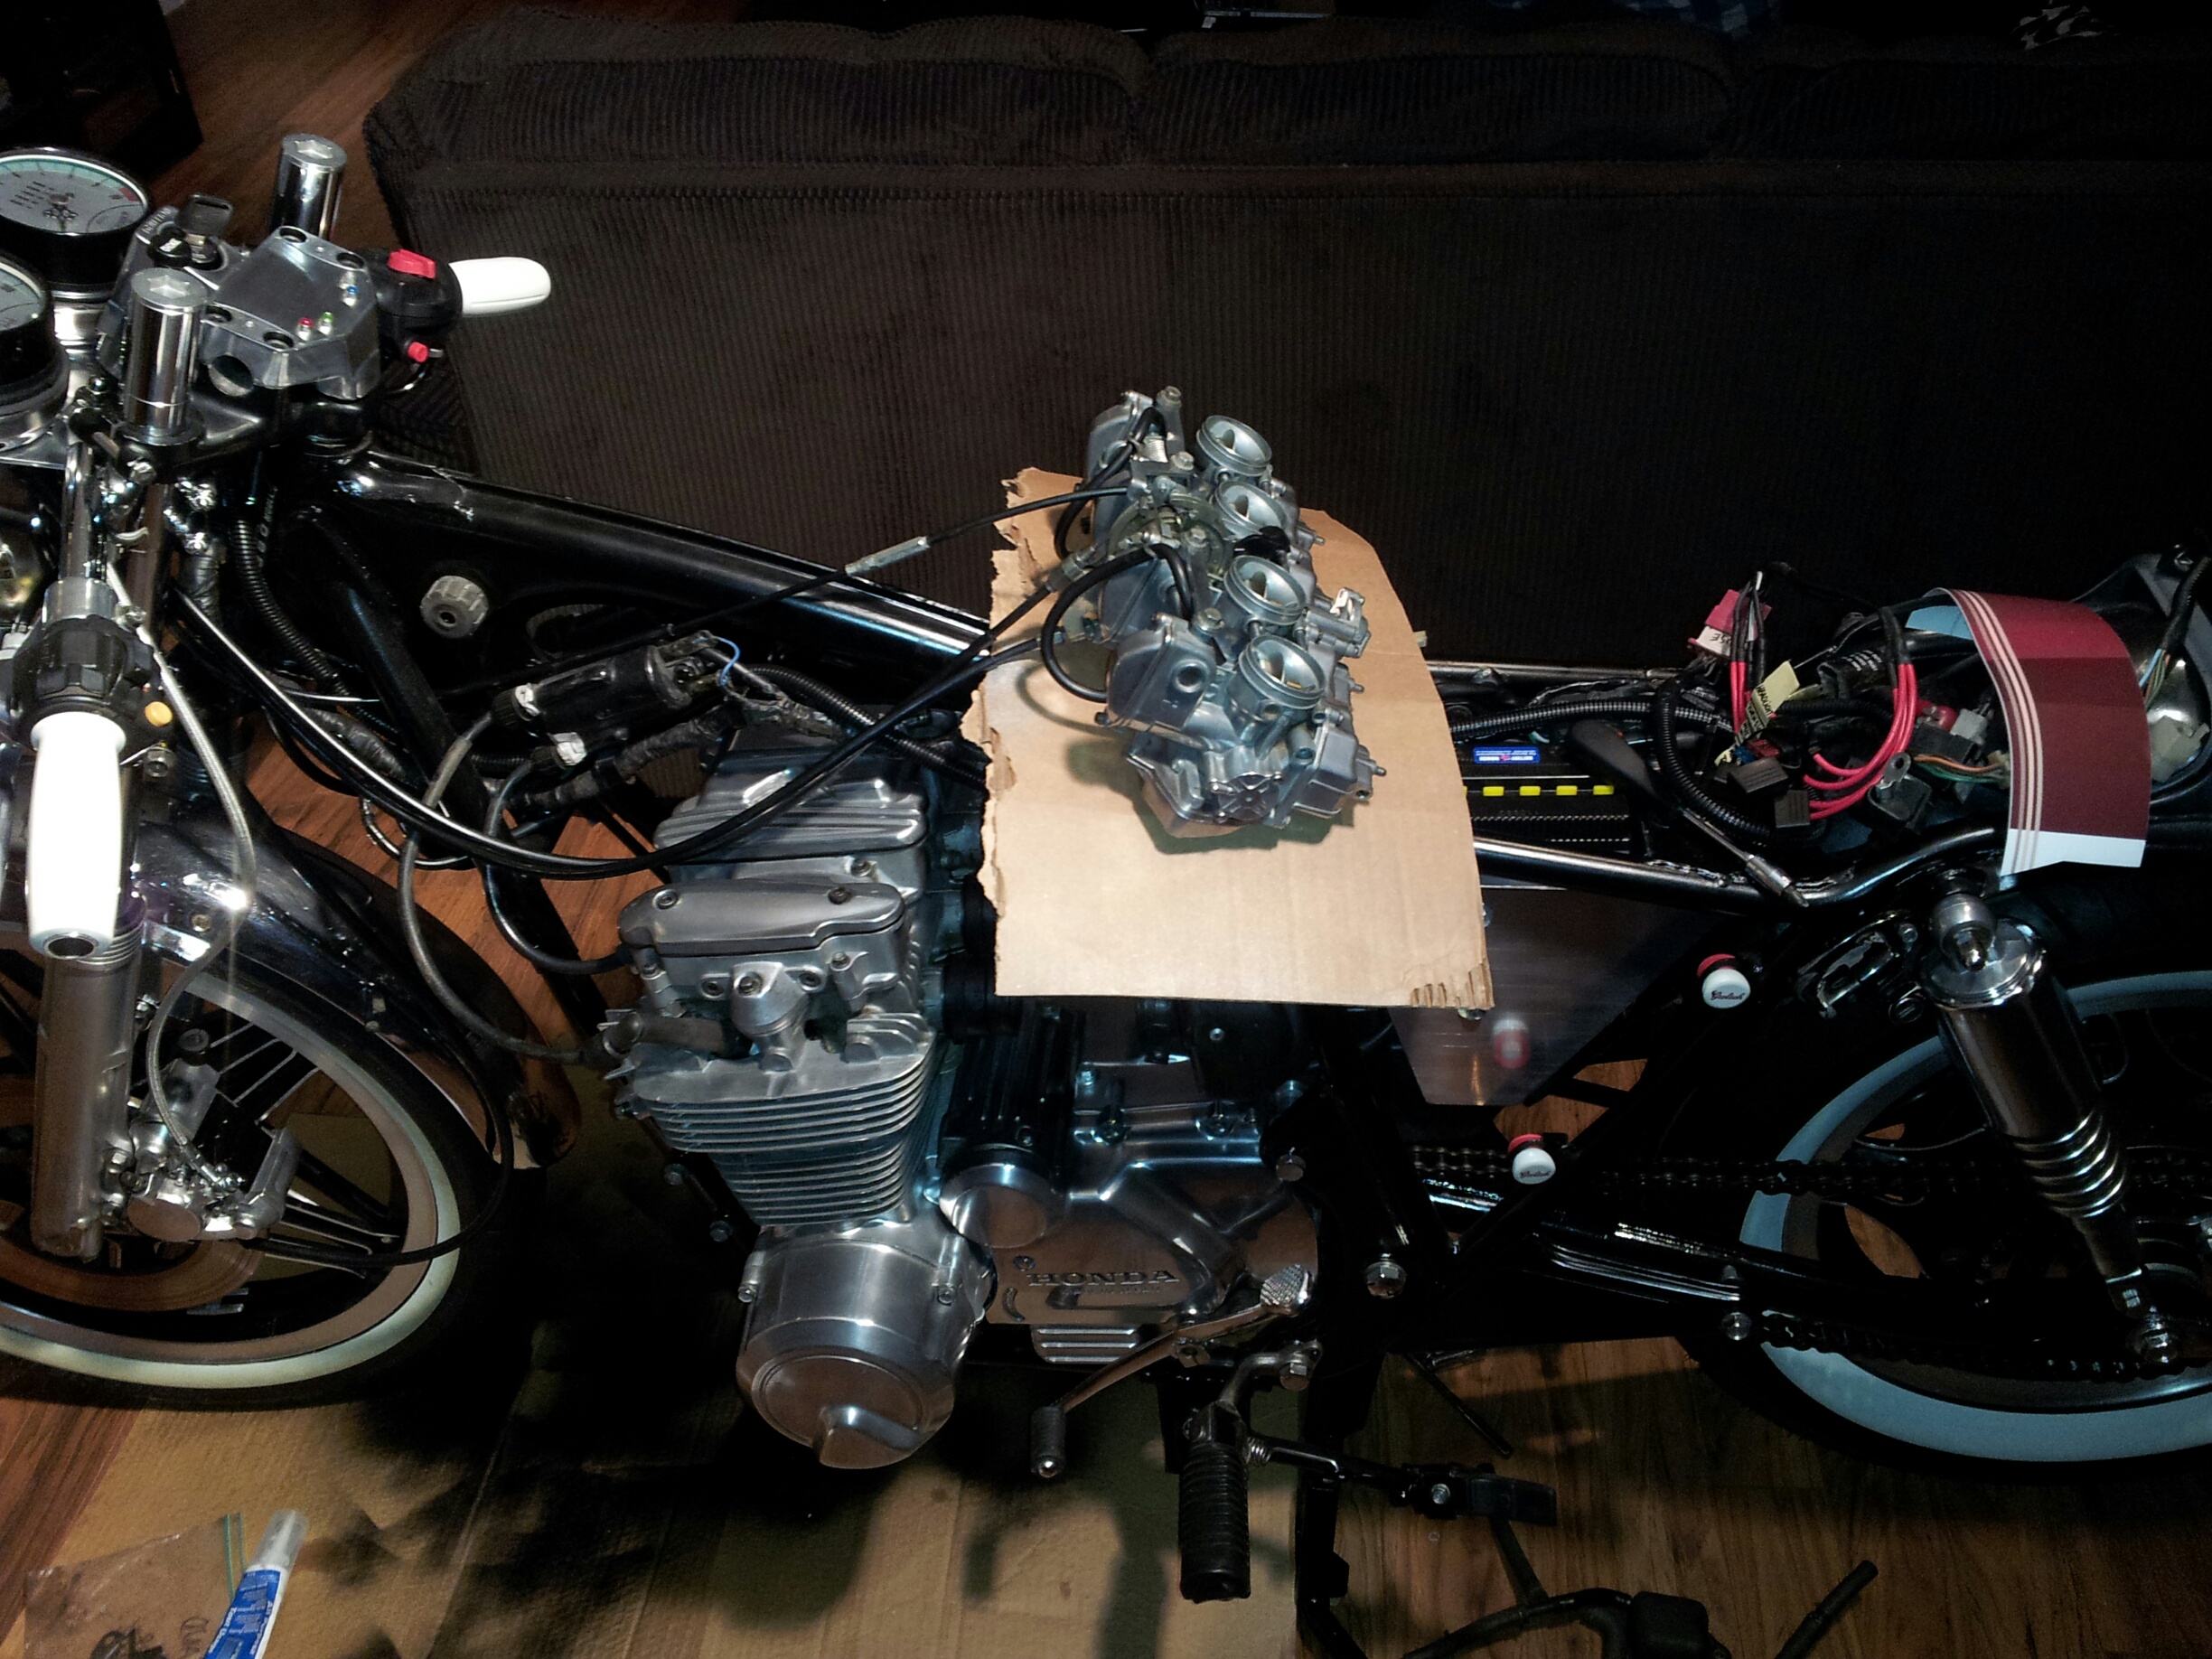
Exciting times!
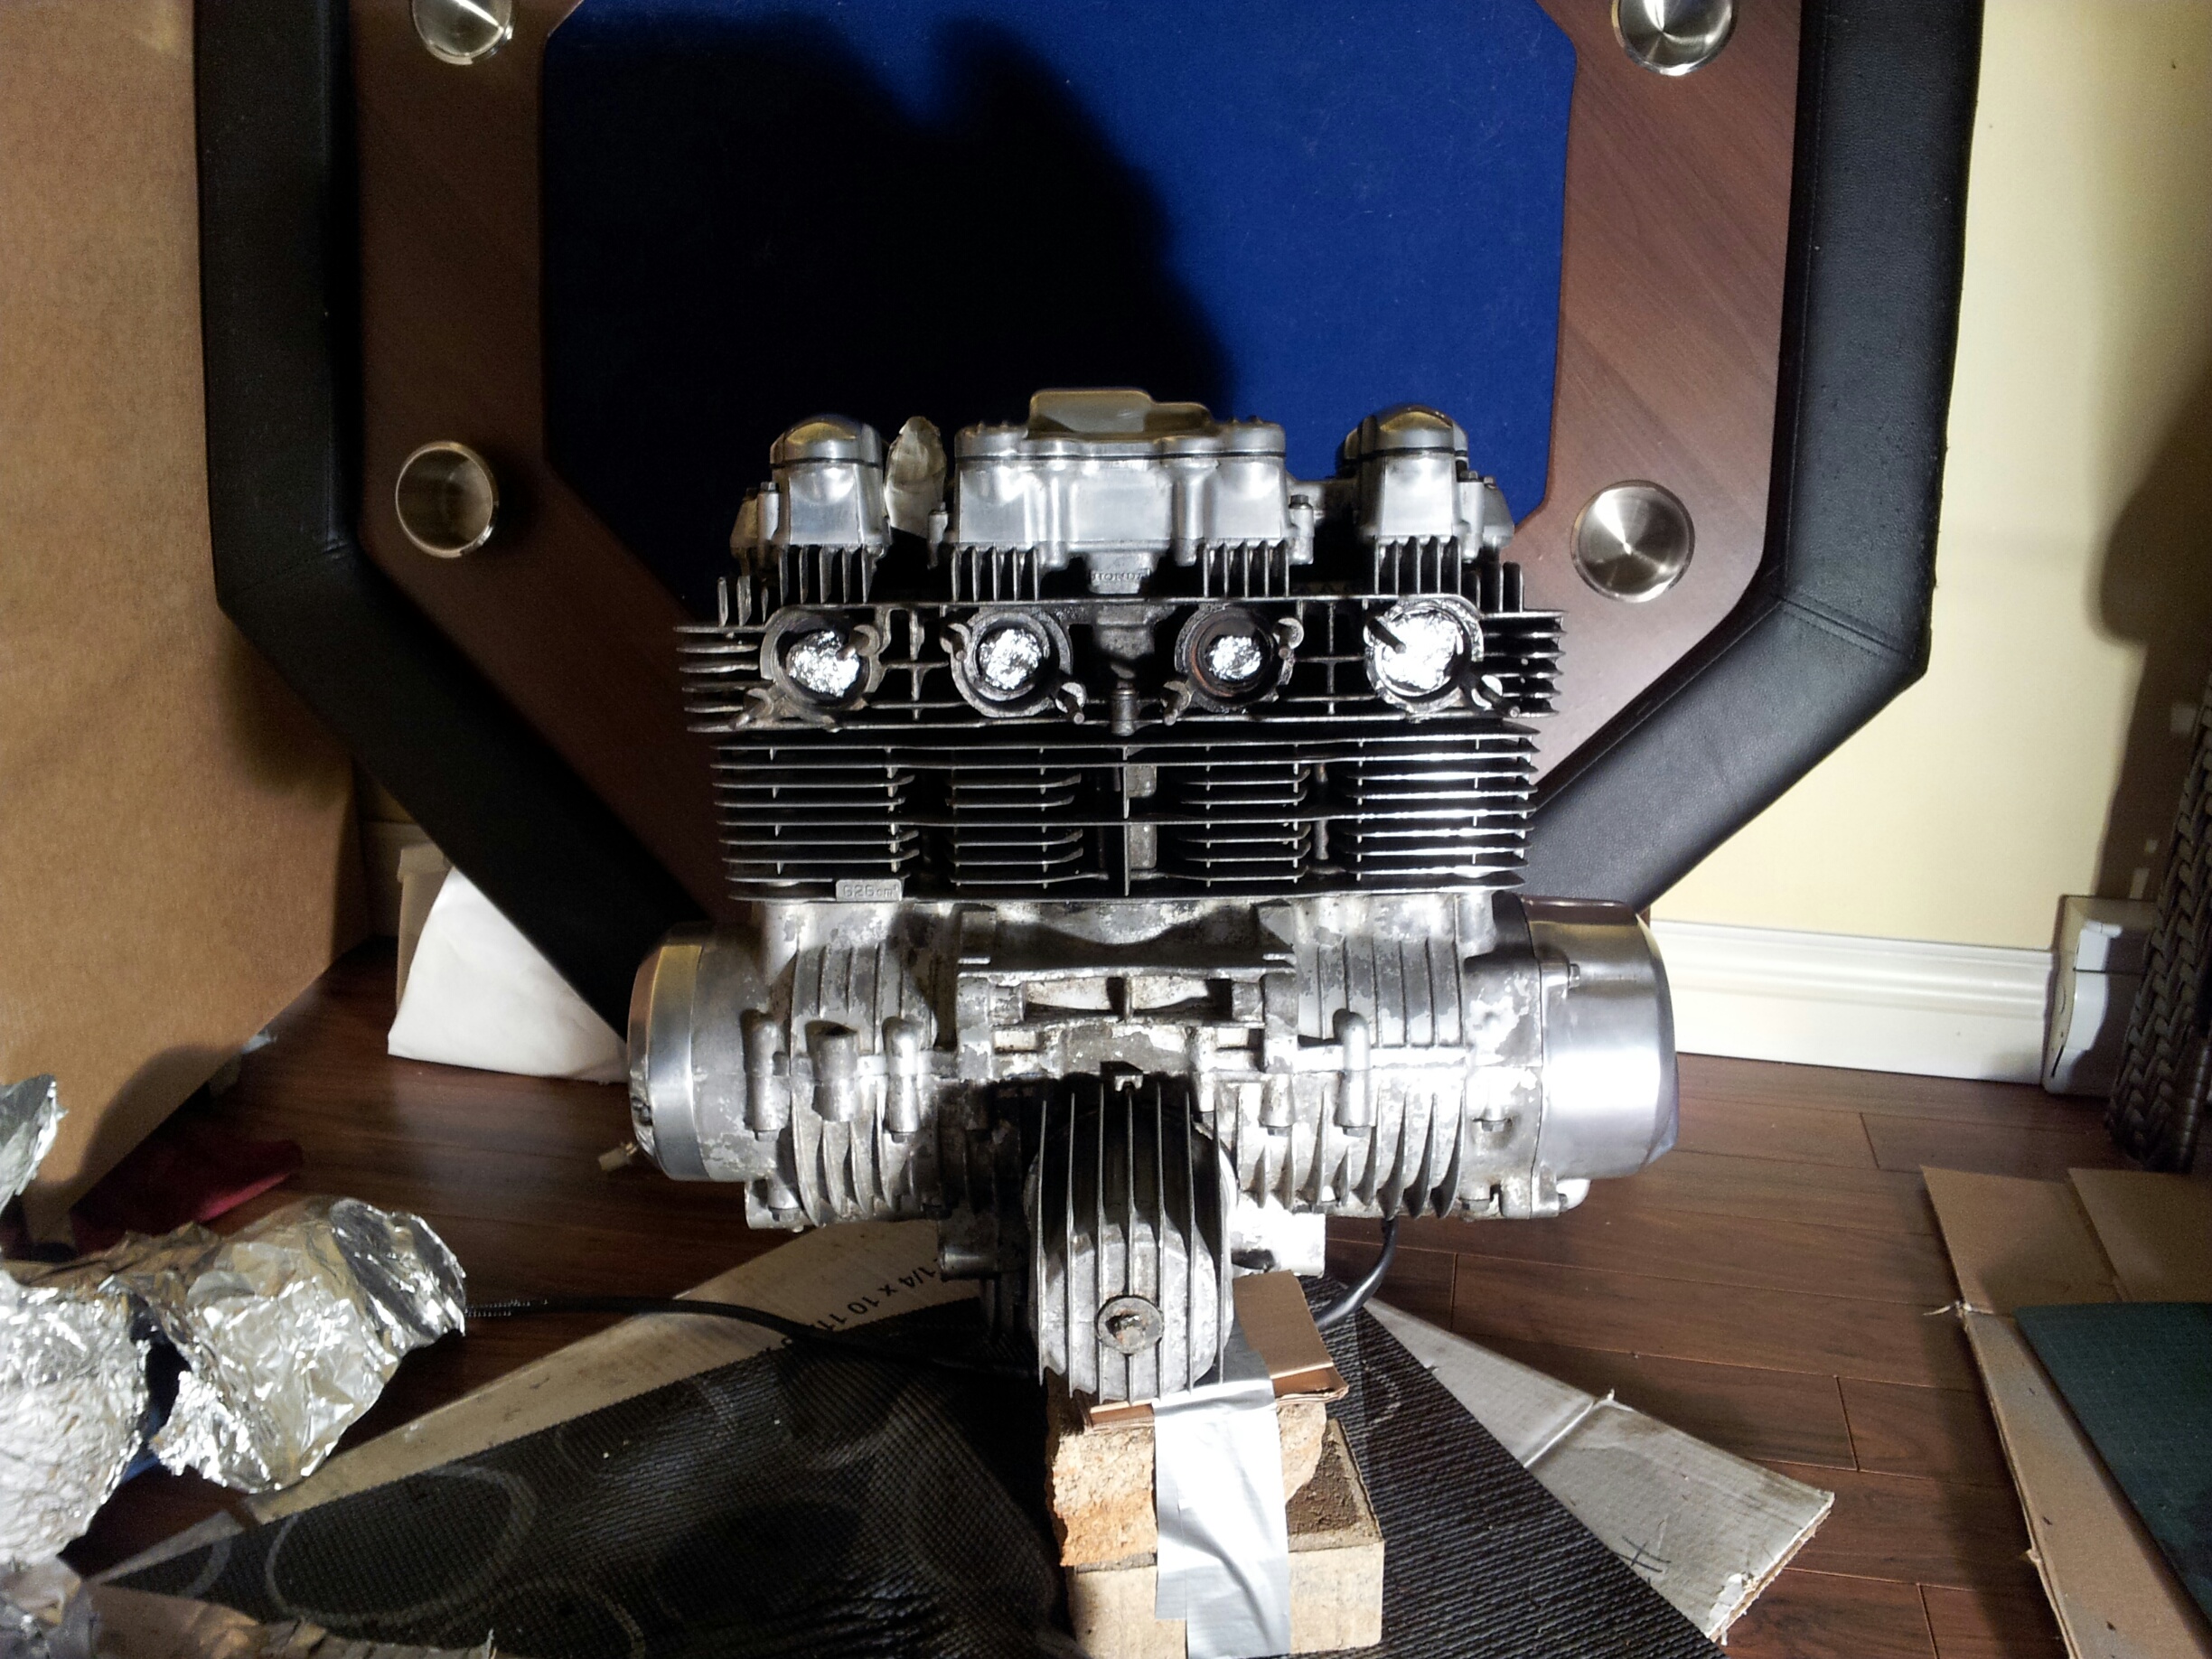
The engine is ready to put into the frame, I spraying the lower casing with aluminium paint.
Spring is here!
With the nice weather back and lots of motorcyle out – the motivation to get things ready is pretty strong! I finished most of the wiring and front-end. I picked up some nice lil led side markers for the side blinkers to assist the front (I like having a “visible”) bike.

I did some more cleaning on thr engine and made a little paint booth to spray it

The front caliper is also done. I had to clean and polish everything smooth.


Wiring and aluminium cutting
I’m really happy with how the dashboard turned out! Took some patience and lots of filing.


I had to lenghten some part of the main loom (which is in great condition) to relocate the fuse box in the rear. Same thing with the rectifier and shortened control looms.
Wiring and aluminium cutting
I’m really happy with how the dashboard turned out! Took some patience and lots of filing.


I had to lenghten some part of the main loom (which is in great condition) to relocate the fuse box in the rear. Same thing with the rectifier and shortened control looms.
Seat, air intake, wiring
Seat
Lots of work done in the last week. I got to cut the frame and seat to try to align it properly but it struck me that i really should drop in the engine to compress the suspension to make sure it levela out the way I want.


Air intake
I really want to make a custom intake and so far this is what I came with. These are two velocity stacks made for a vw. Not sure on the final alignment but I like the look so far.


Tailights
This is really nice and will make the bike more visible. Again this may not make it in the final form.

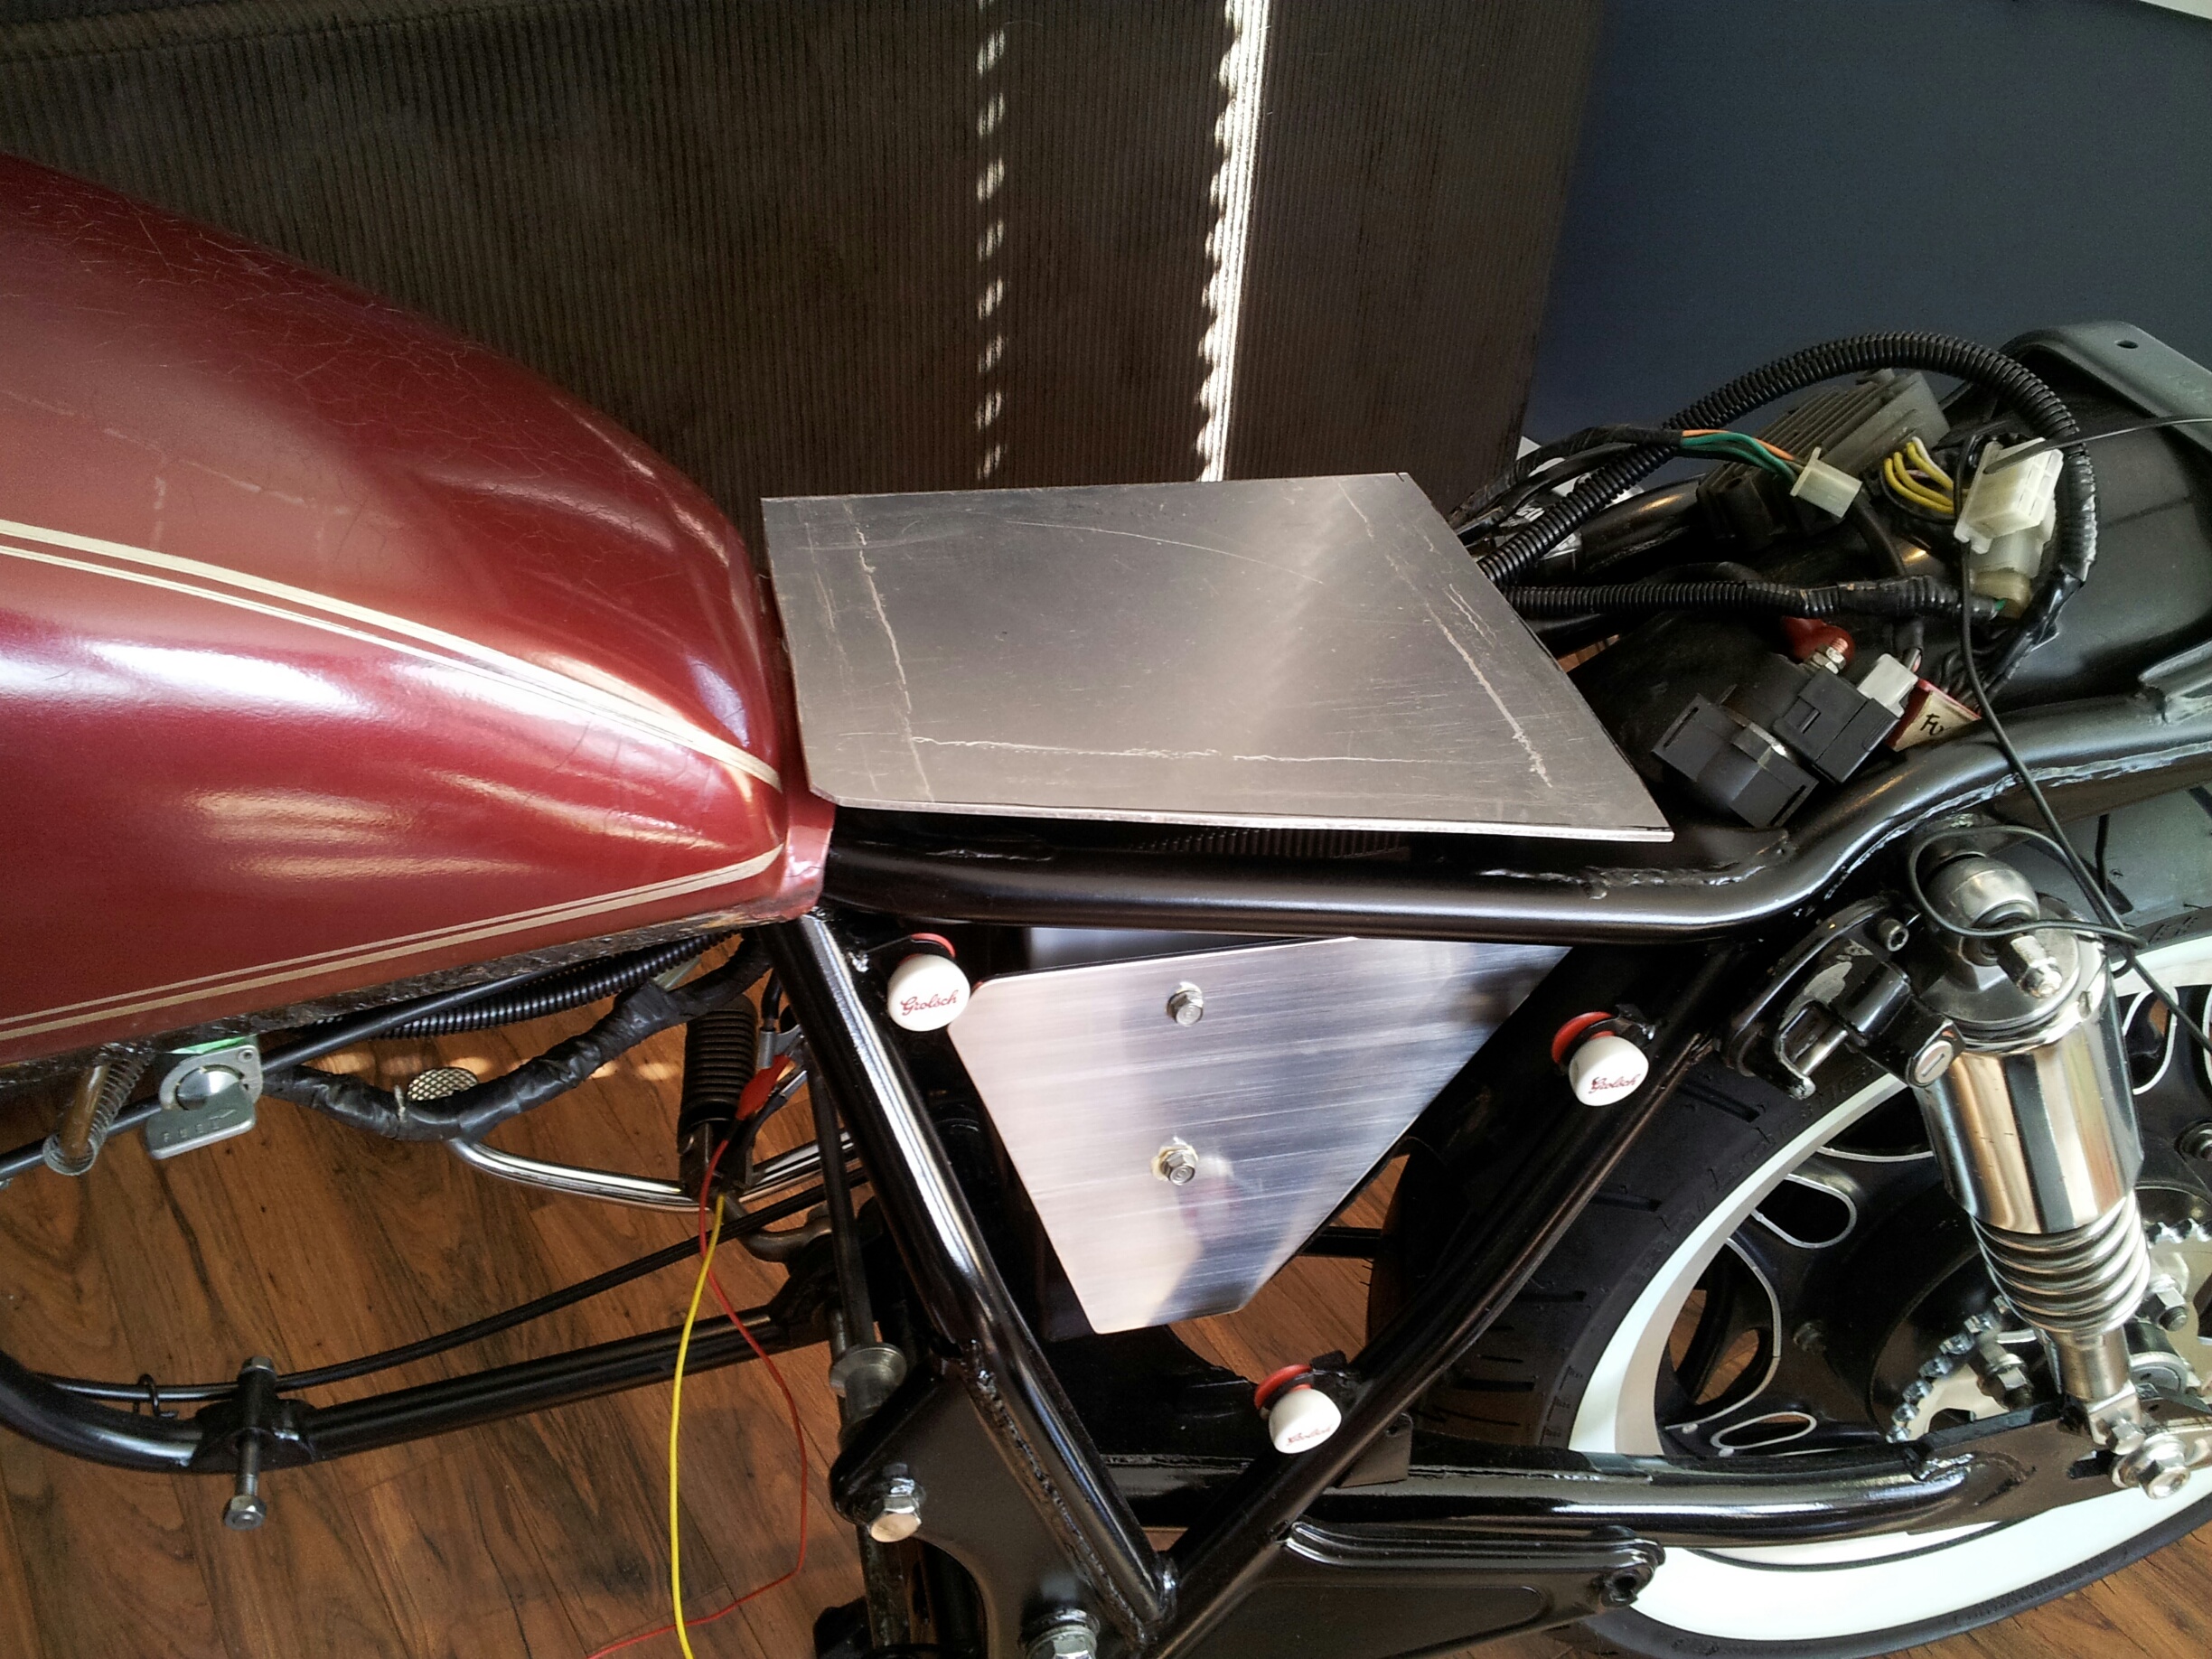
Wiring and more metal working
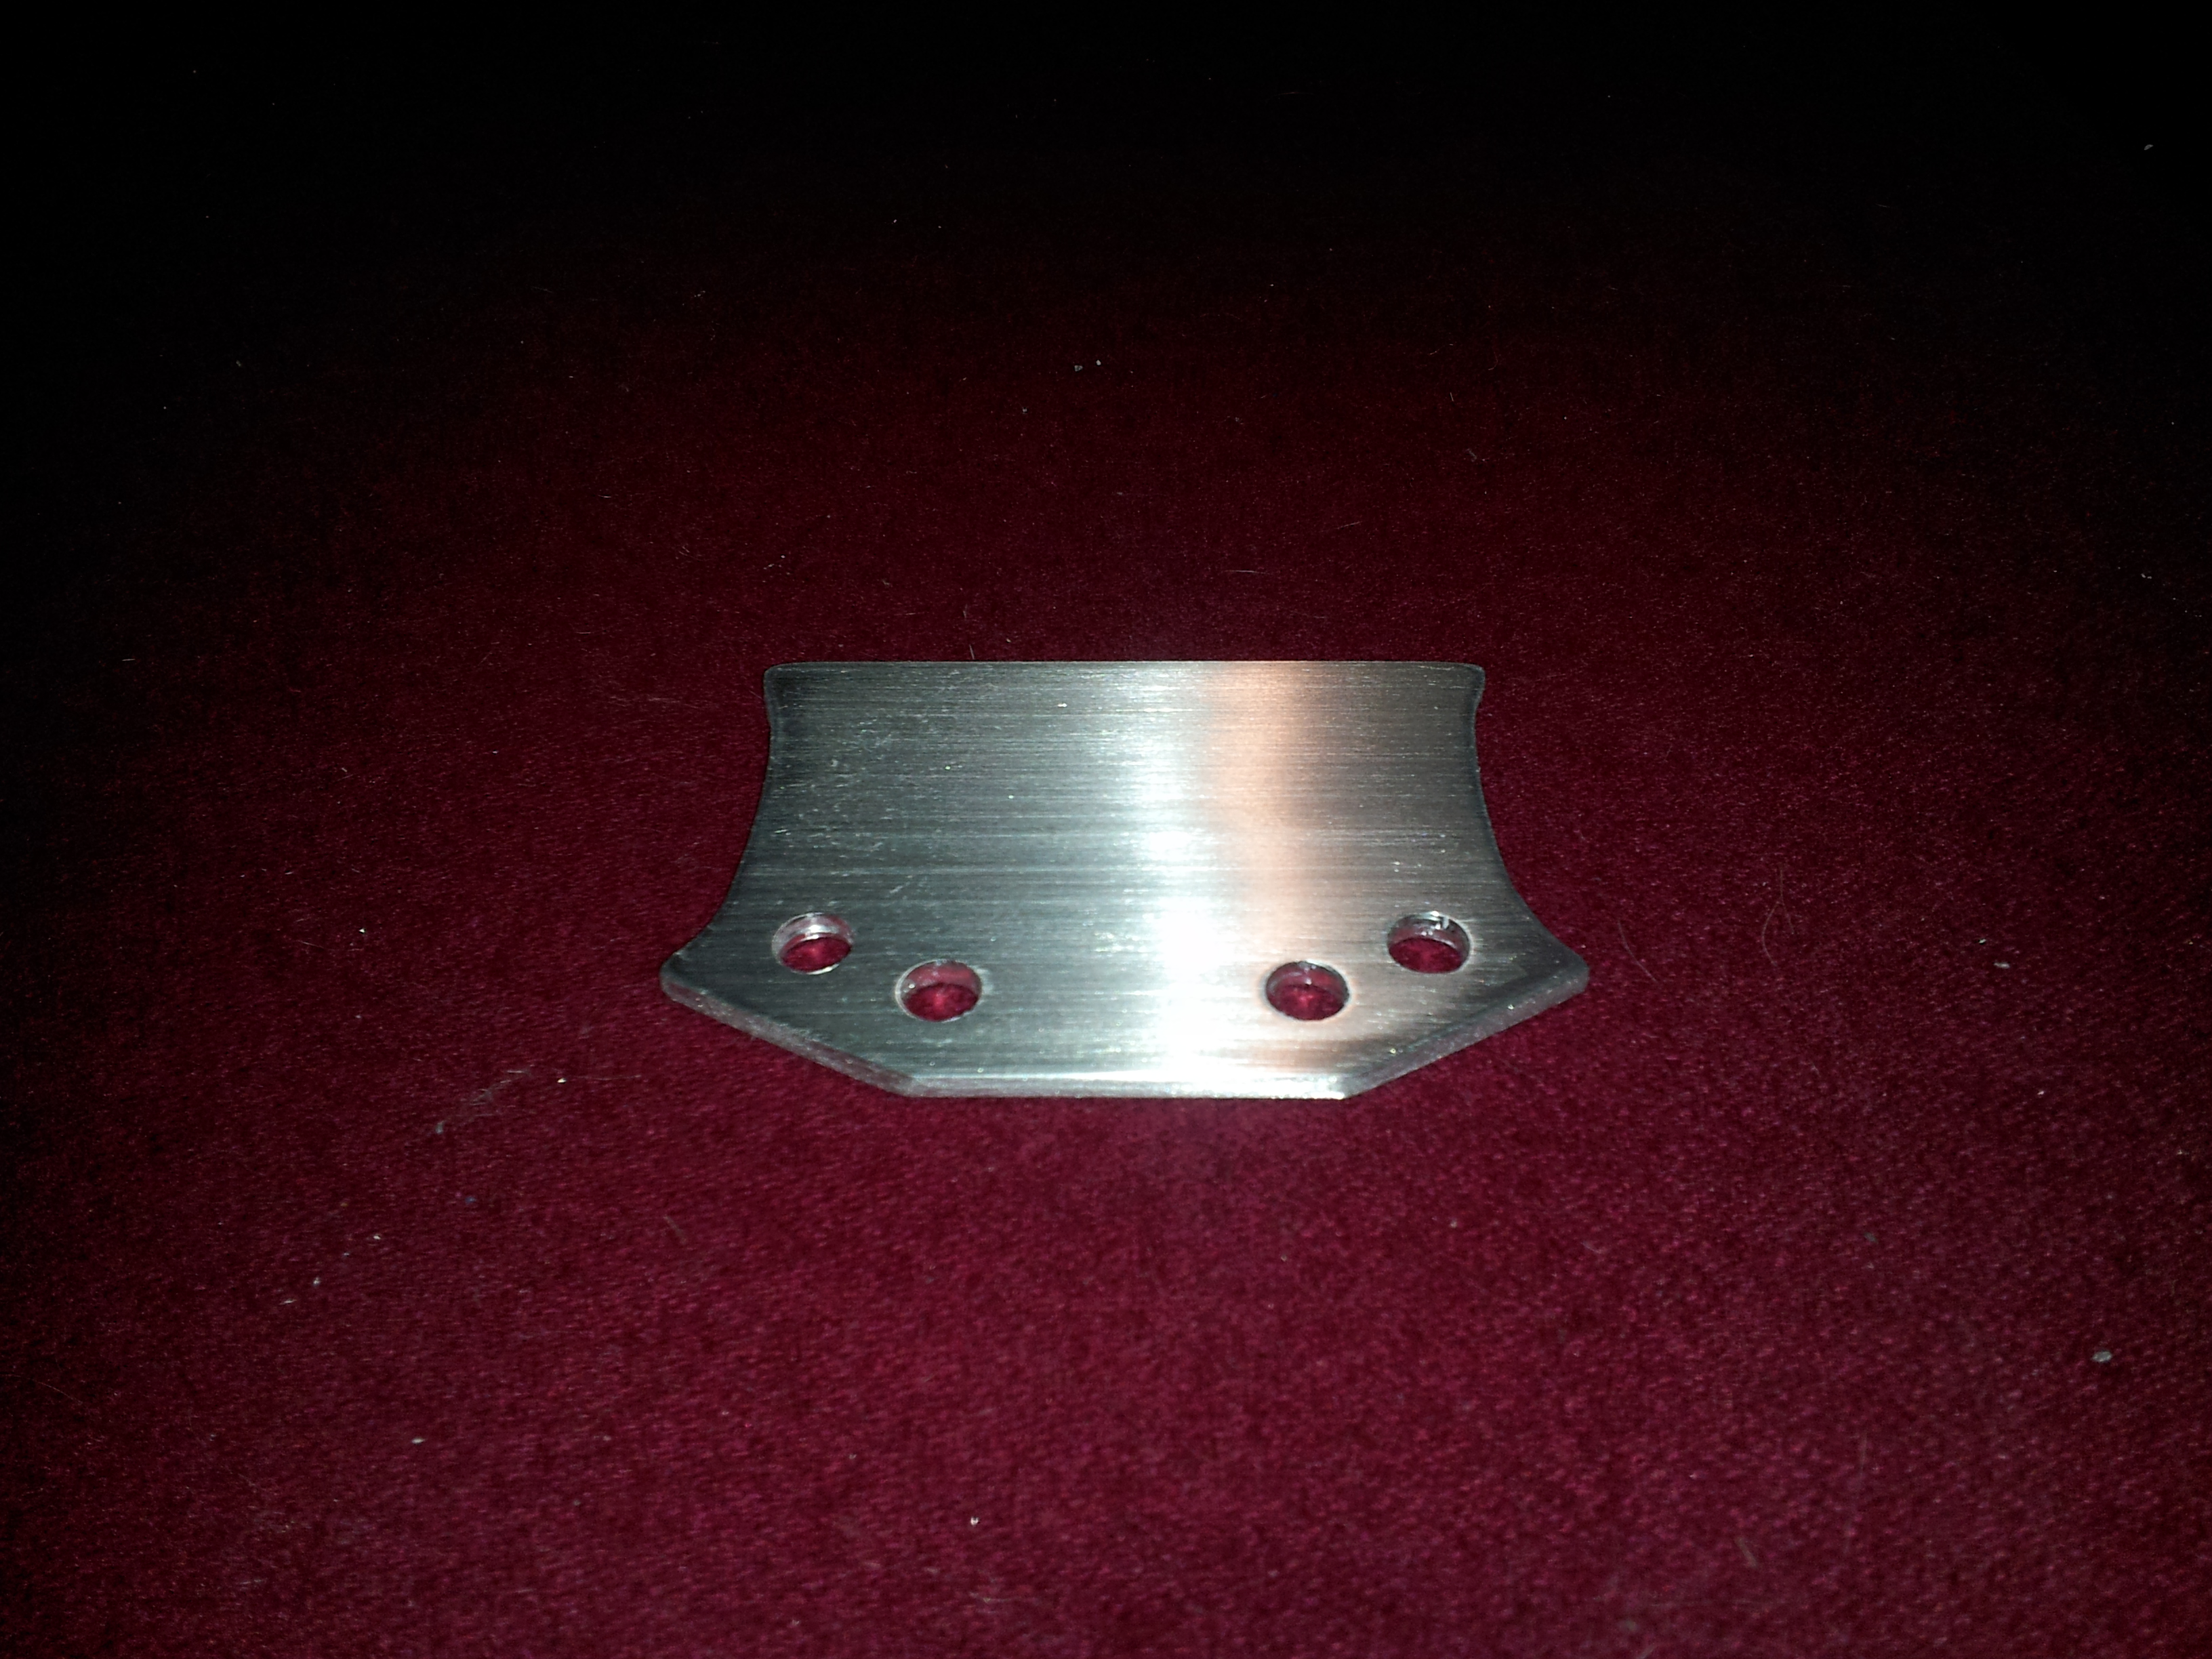
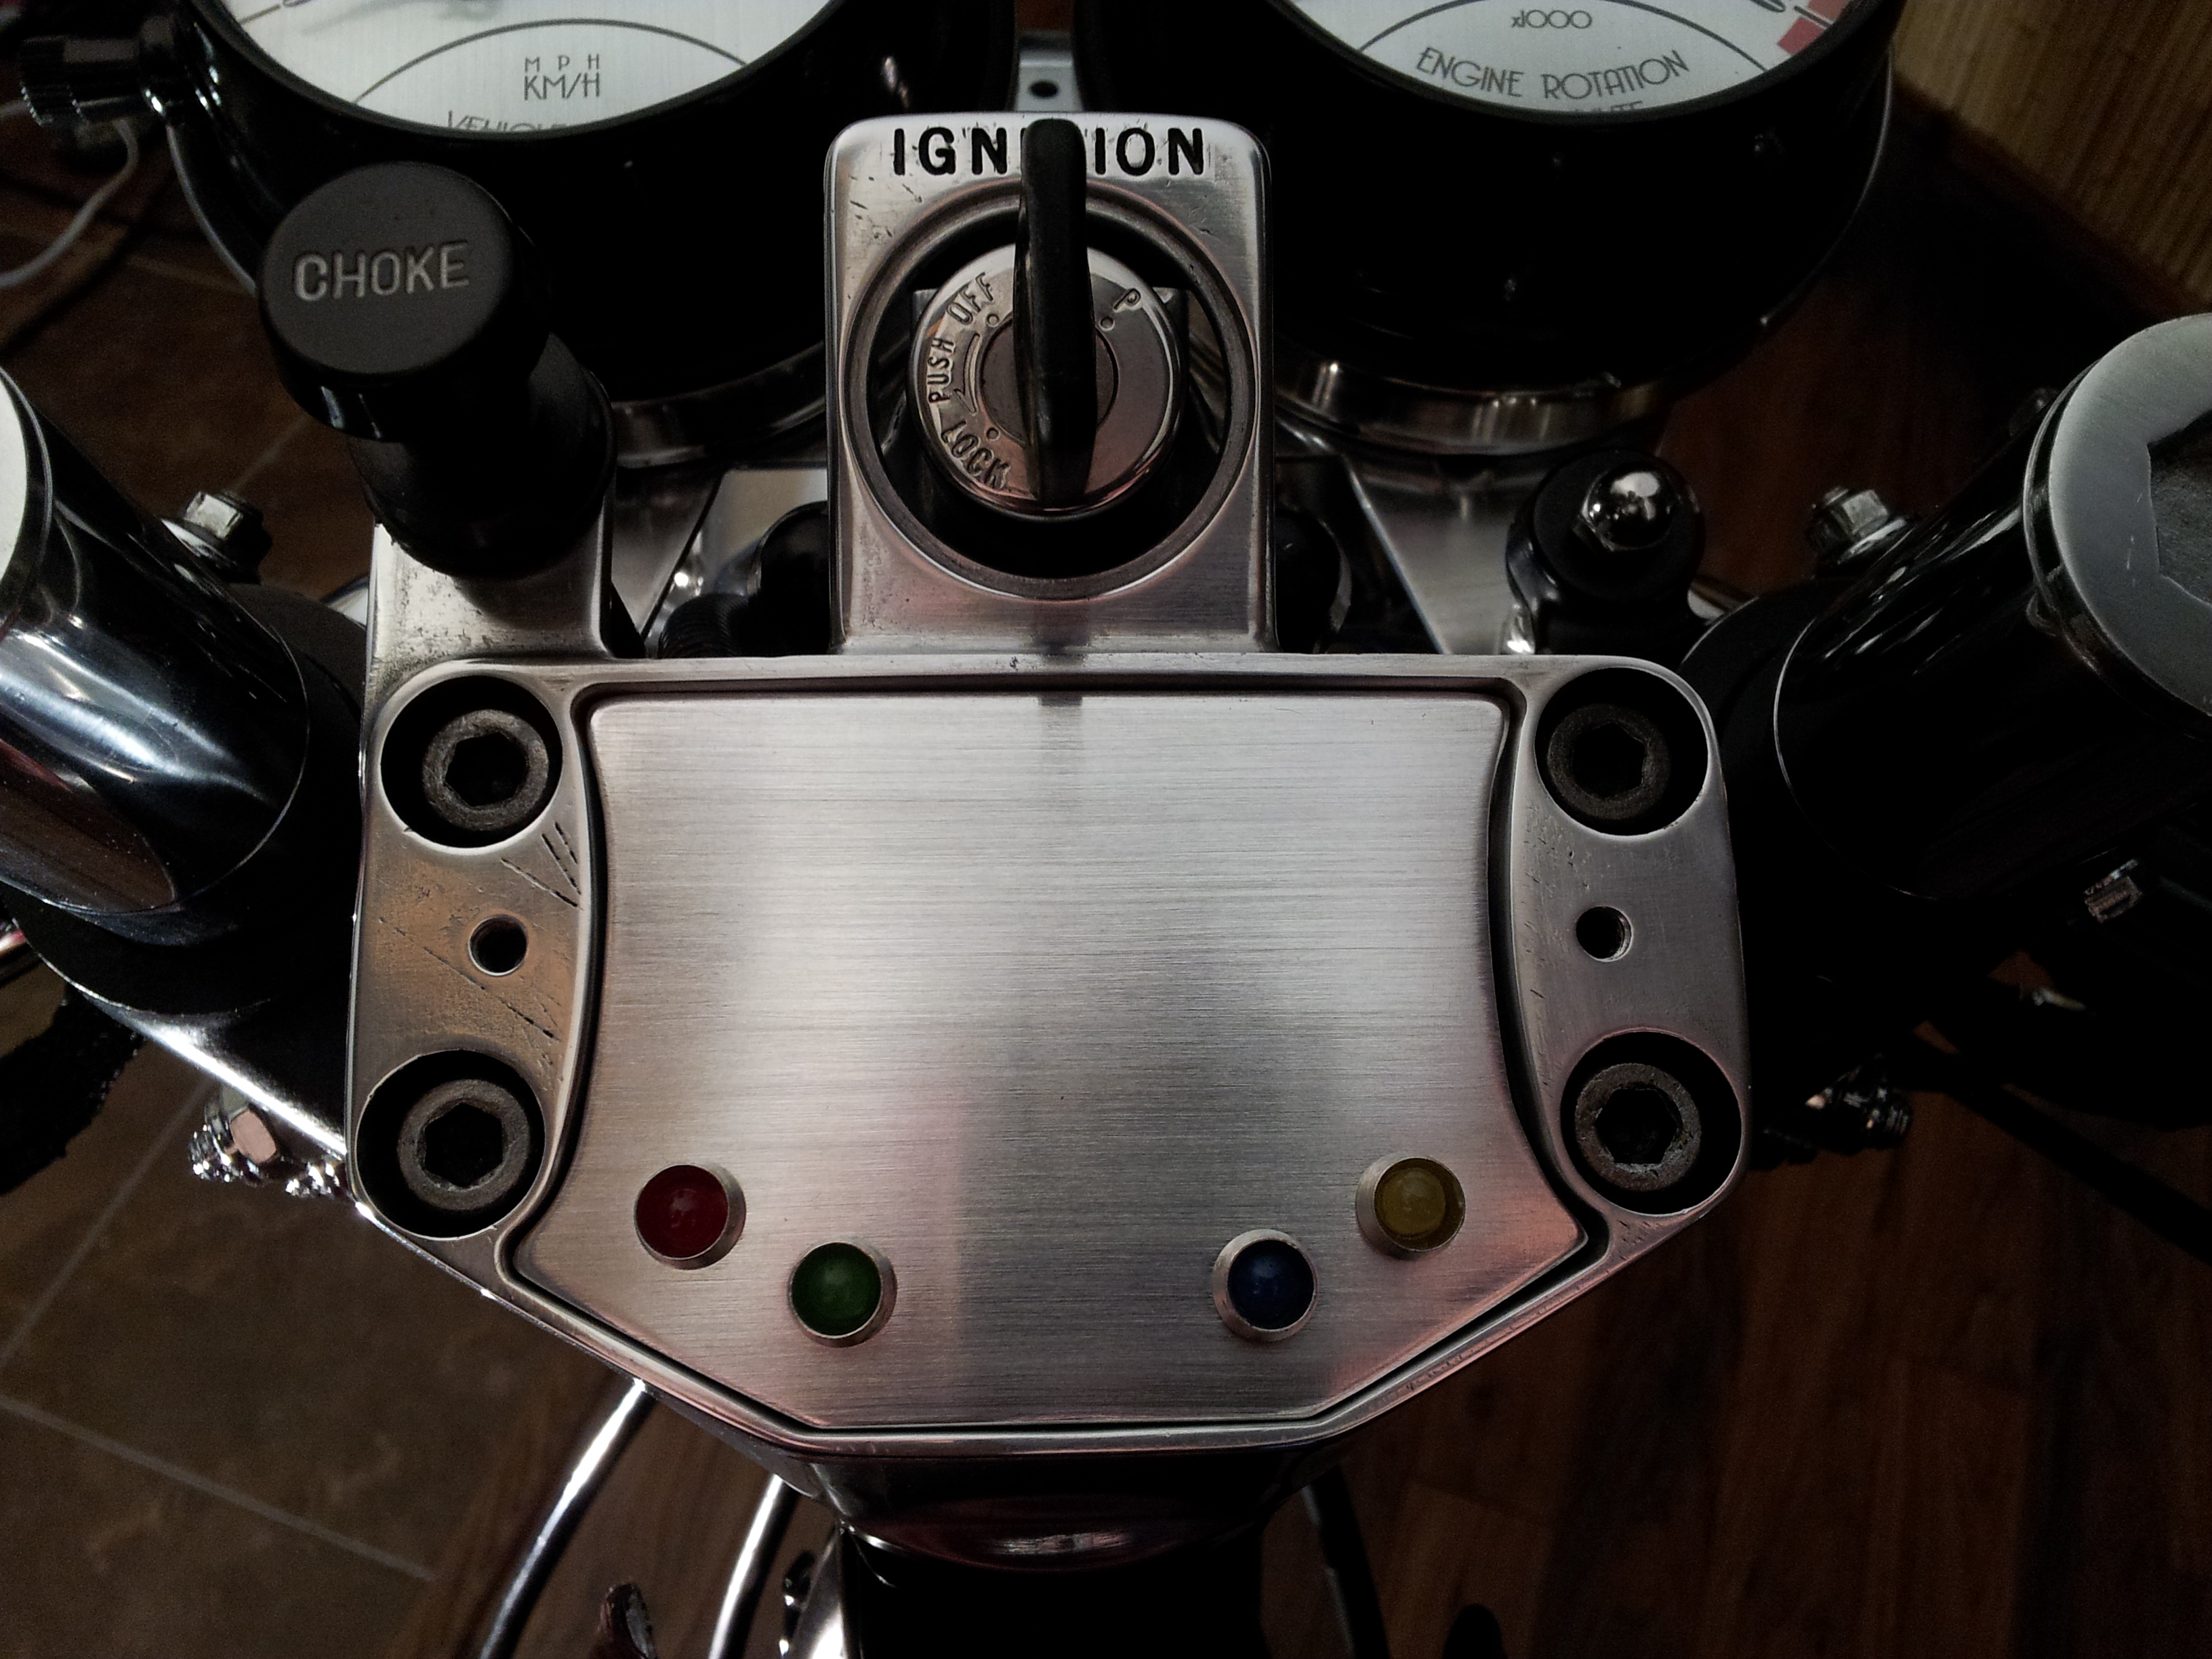
Aluminium dash plate
I always had an interest in metal working, I think mainly because you can make something that looks very nice and it will last a lifetime with little care. My last work on the bike was this little metal plate unto which I mounted 4 LED’s indicators.
The plate was mocked up with thin cardstock, then I cut it roughly with a jigsaw, and the final shape was made with an assortment of files. The plate fits so snuggly into the peice that I won’t even have to fastest it (not sure what I’ll do yet, probably glue it from the back to get a clean look).
Because this is not a 100% total restauration, I’m leaving the already present scratches, it gives character, a 35 years old bike needs character.

Wiring and more


My gauges and brackets are finally done. The results surpassed my expectation. The little bracket was my first time working aluminium sheet and I learned quite a bit from it.
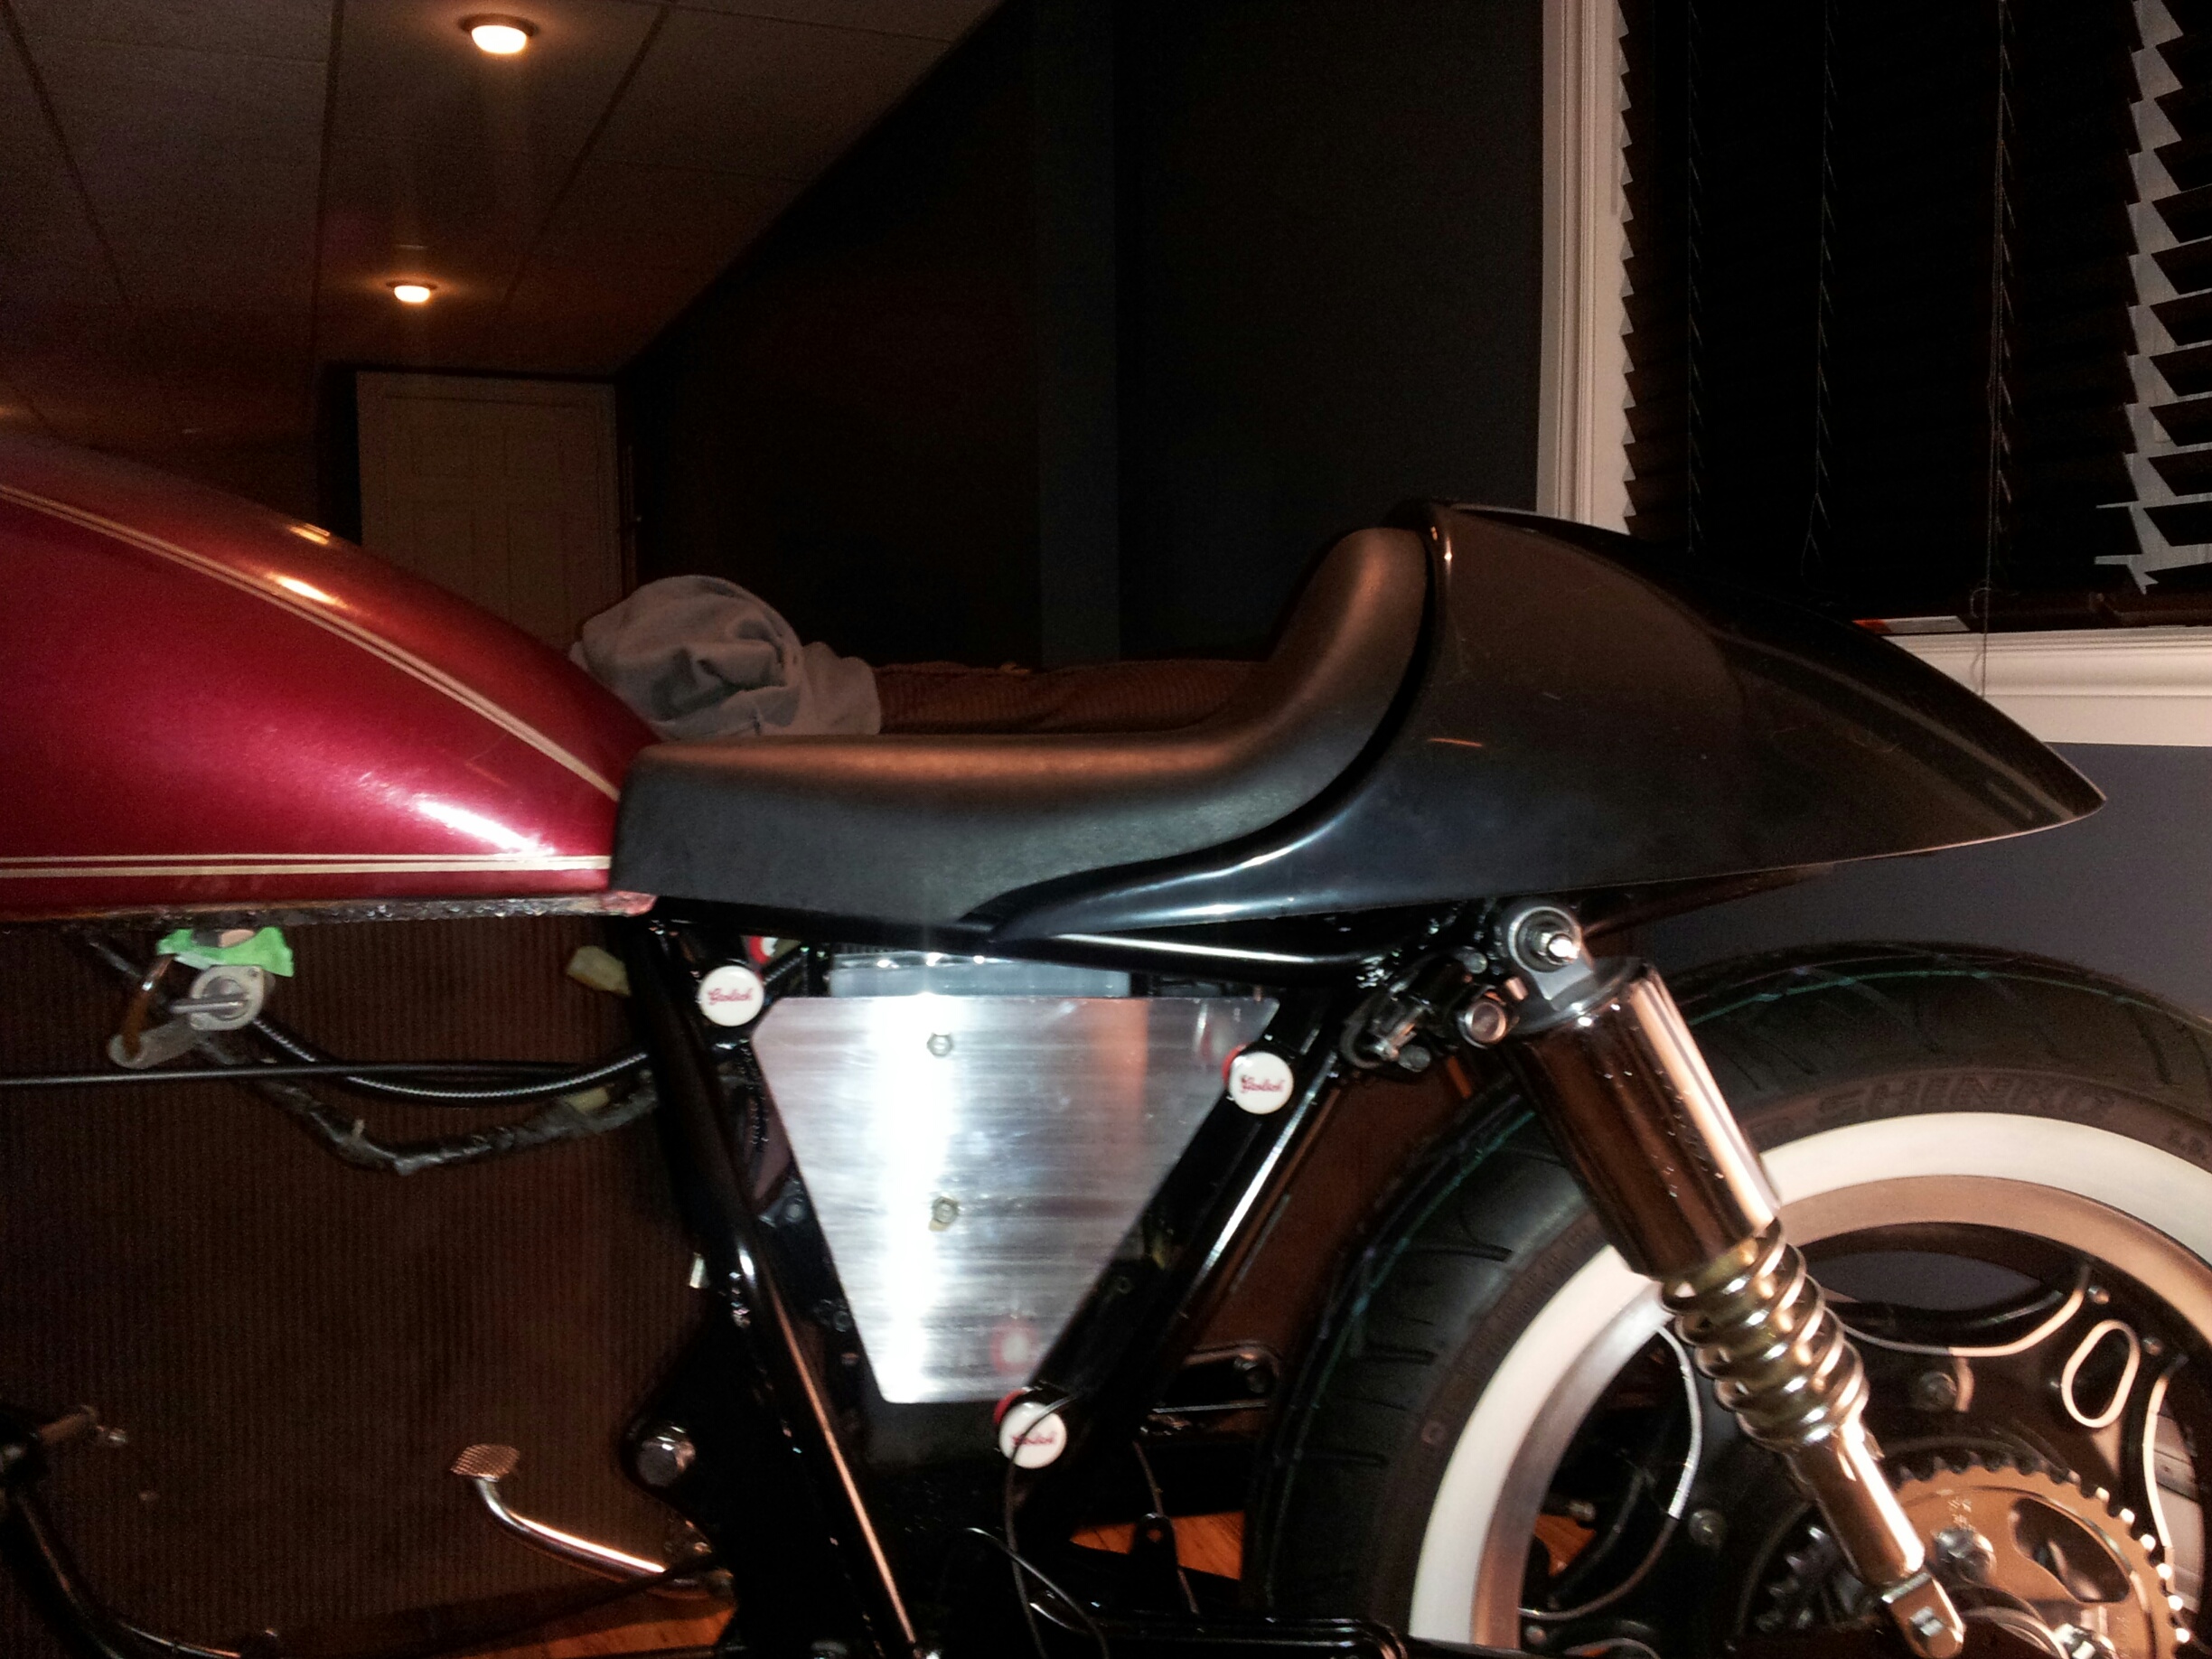
Next will be more aluminium cutting to create the side “triangle” panels. One side will cover the airbox and the other the battery tray.


I’m still dreaming of a custom airbox intake cover but there’s no plan for now.

Started some of the wiring business. I shortened both hand controls’ wire loom by about 6″.

A headlight on/off switch has been added to the headlight bucket to turn it off on purpose.
